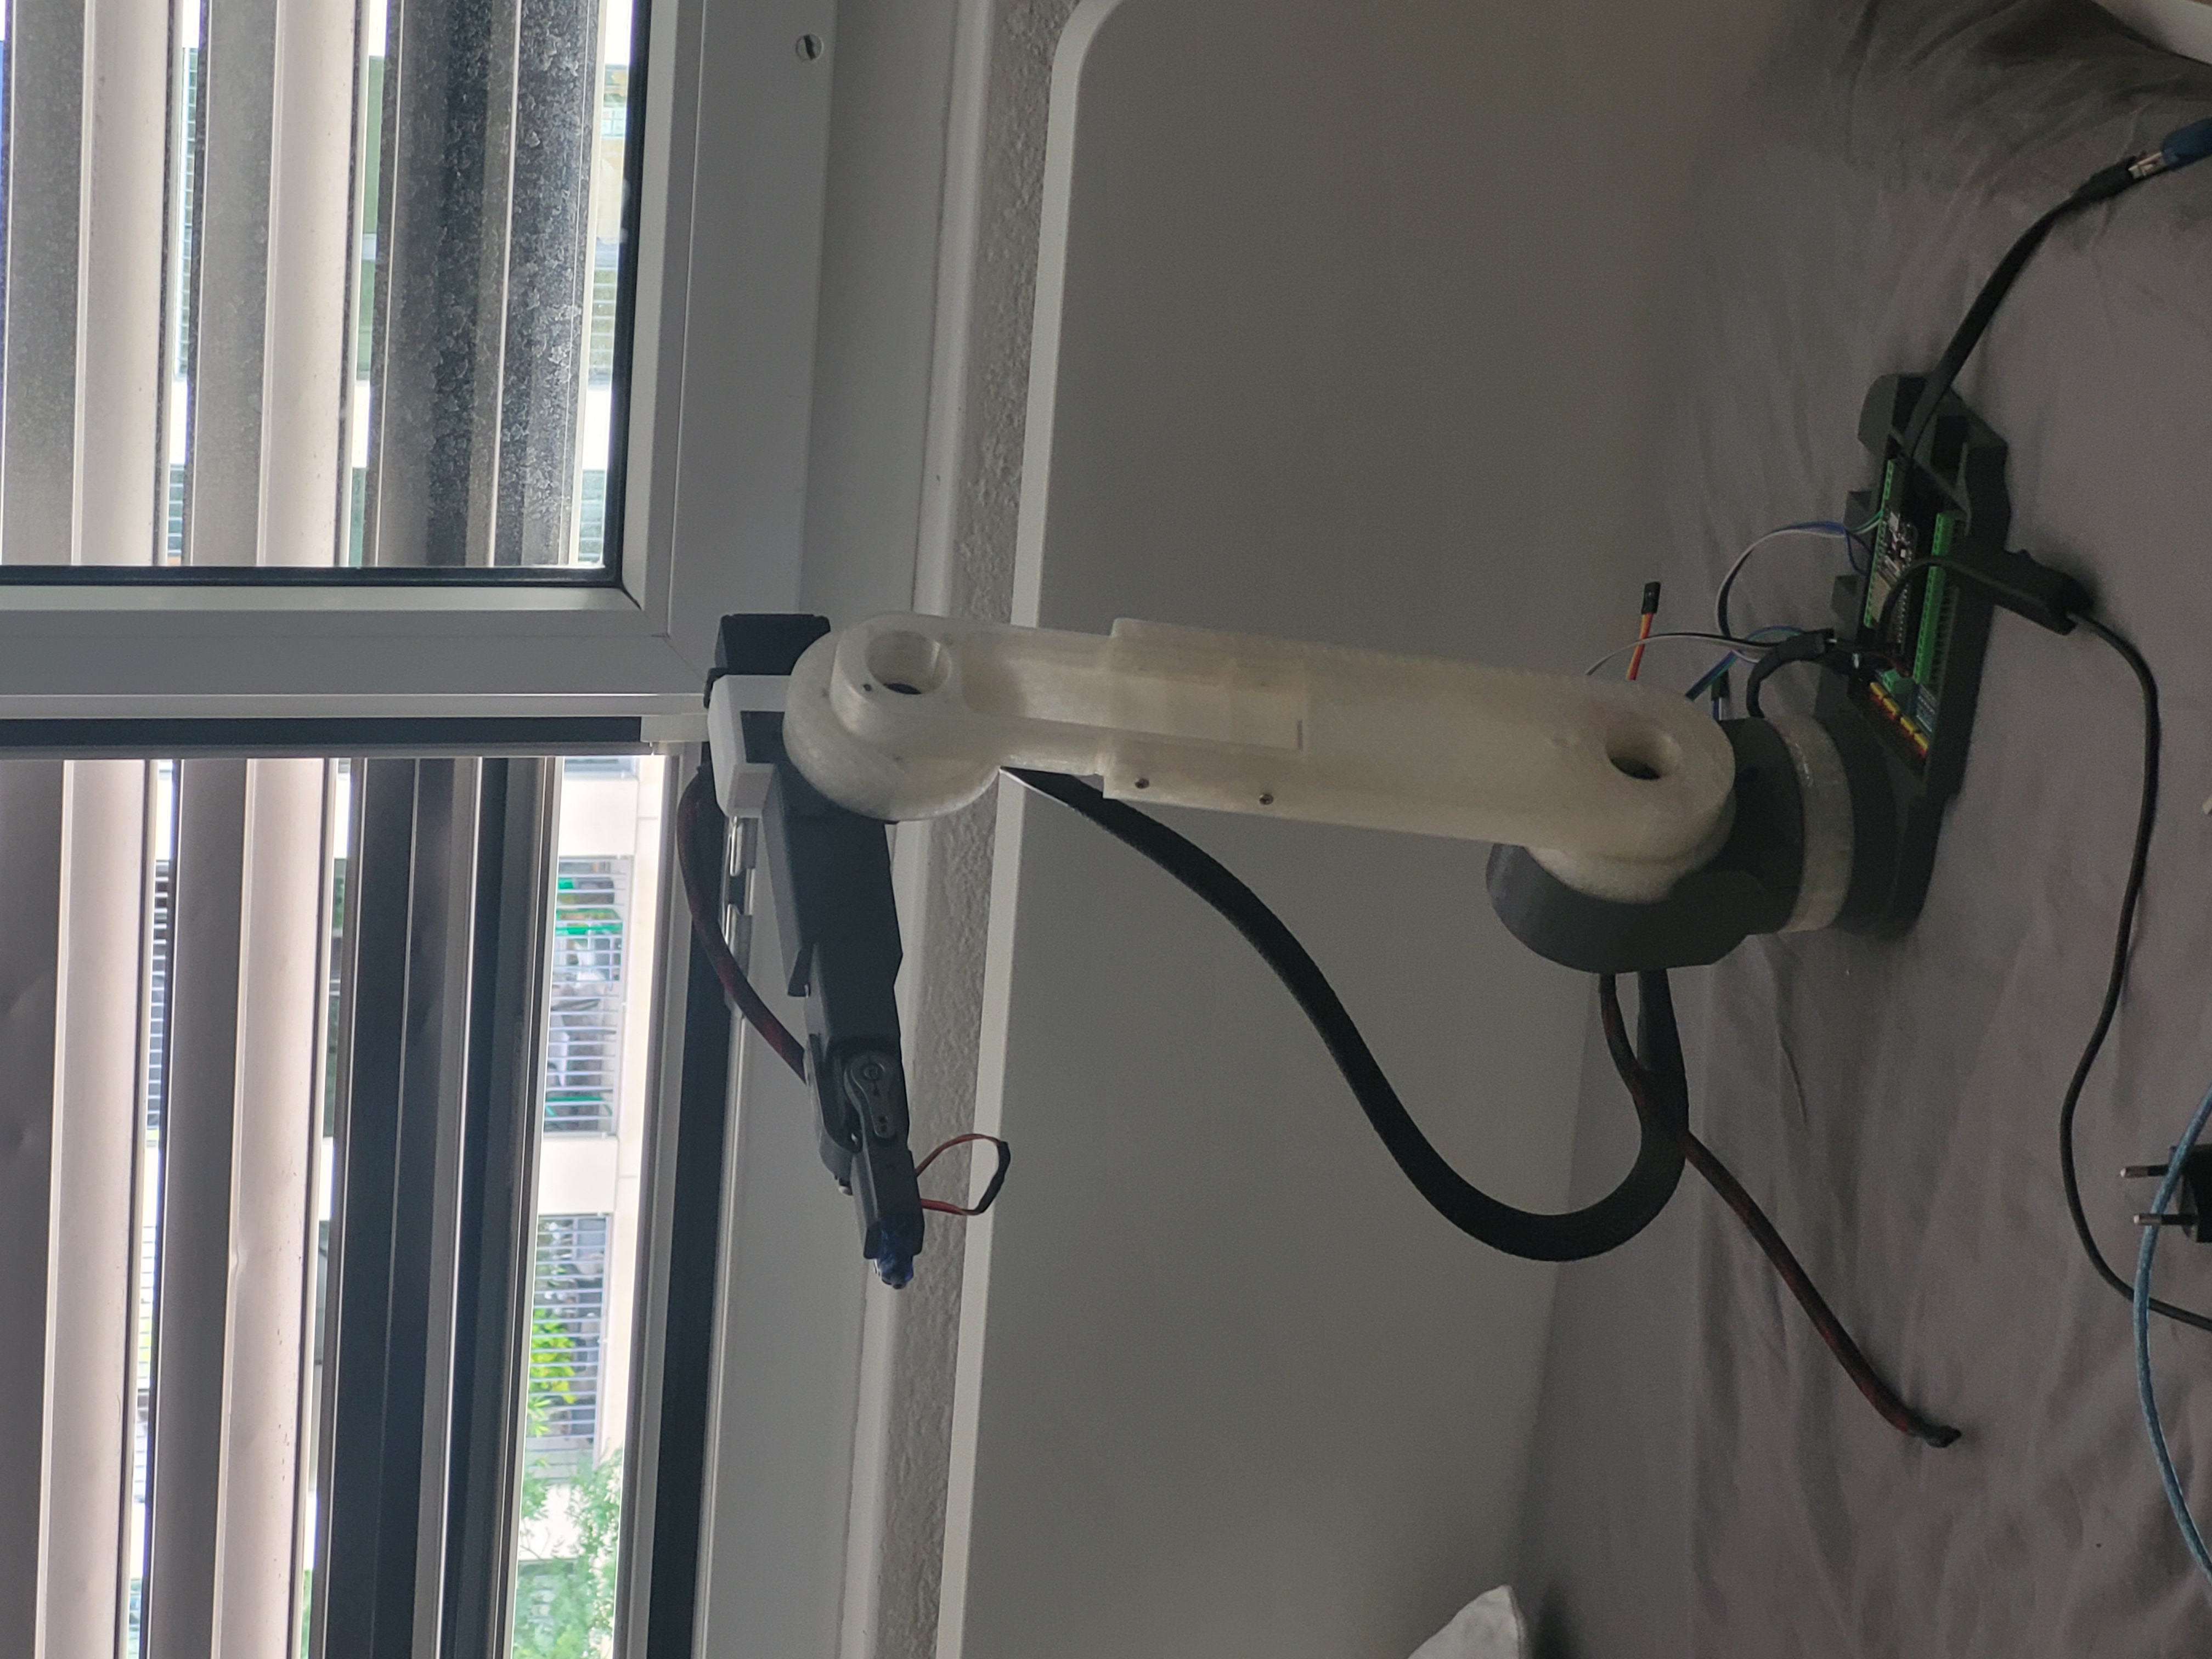
4-DoF 3D printed robotic arm
Last updated: July 22, 2024
Advanced open-loop control system with four degrees of freedom using high-torque servo motors.
This project is a servo-based robotic arm with four degrees of freedom, designed for precise control and positioning using standard hobby-grade components. The focus of the design is on achieving accurate, smooth, and reliable movements, while keeping the setup accessible and easy to replicate.
You can find all the steps I took in the design and build of the robot in the youtube video I uploaded below: (Its my most viewed project with 800 views :D )
Project video
Technical Specifications:
Motors:
- 25 kg high-torque servo motors (base, shoulder, elbow, wrist)
Controllers:
- PCA9685 12-Channel PWM Servo Controller Board for simplified servo management
Microcontroller:
- ESP32 for wireless connectivity and control
Power Supply:
- 5V 3A regulated power supply, providing stable and sufficient current for all servos (5v 3A cable cut open and wires screwed to motor driver terminal)
Structure:
- 3D printed components (PLA+) combined with aluminum supports for added strength and reduced weight

3D-Printable Components
- Custom-designed and optimized to minimize weight while maintaining rigidity, the arm components are entirely 3D printed in PLA+ filament, allowing for easy replacement and modifications.
Hardware Components
| Component | Quantity | Description |
|---|---|---|
| 25 kg servo motors | 4 | Base, shoulder, elbow, wrist |
| ESP32 dev board | 1 | Microcontroller |
| PCA9685 PWM board | 1 | Servo controller |
| 5V 3A power supply | 1 | Power source |
| PLA+ printed parts | Various | Structural components |
Control System
The arm operates using an open-loop control system, where the ESP32 sends PWM signals through the PCA9685 controller to the servos. This setup eliminates the need for encoders by relying on the inherent positional accuracy of the servo motors.
Kinematics were calculated using an online inverse kinematics GUI tool, which provided the joint angles required to reach a specific position in the arm’s 2D working plane.
// Example: Sending angle commands to PCA9685-controlled servo
pwm.setPWM(servo_channel, 0, angleToPulse(angle_deg));
Code Snippet 1: ESP32 sending angle commands to the PCA9685 PWM controller.
This method allows for straightforward and efficient trajectory planning, although being open-loop, it lacks feedback and therefore assumes no mechanical errors or external disturbances.
Control Interface
The system is controlled via a web-based interface hosted by the ESP32, allowing real-time control through any connected device. The joystick values or direct angle commands are transmitted via Wi-Fi, offering a highly flexible and wireless control experience.
// Example: Receiving and parsing angle commands via WebSocket
void onWebSocketMessage(String message) {
  double targetAngle = message.toDouble();
  pwm.setPWM(servo_channel, 0, angleToPulse(targetAngle));
}
Code Snippet 2: ESP32 receiving and executing angle commands via WebSocket.