3D Printing Blog
May 11, 2025
A dive into the printing hobby with a tight budget in mind. In the later months of 2024, I had an ever-growing itch to buy my first 3D printer. I had done my research, watched all the videos, and read all the threads. Back when I was building the mechanical part of the robot arm for my Matura thesis, I had made every part out of balsa wood and learned this had been a very time-consuming process. I would have been done with the mechanics in a couple of days had I had a printer back then.
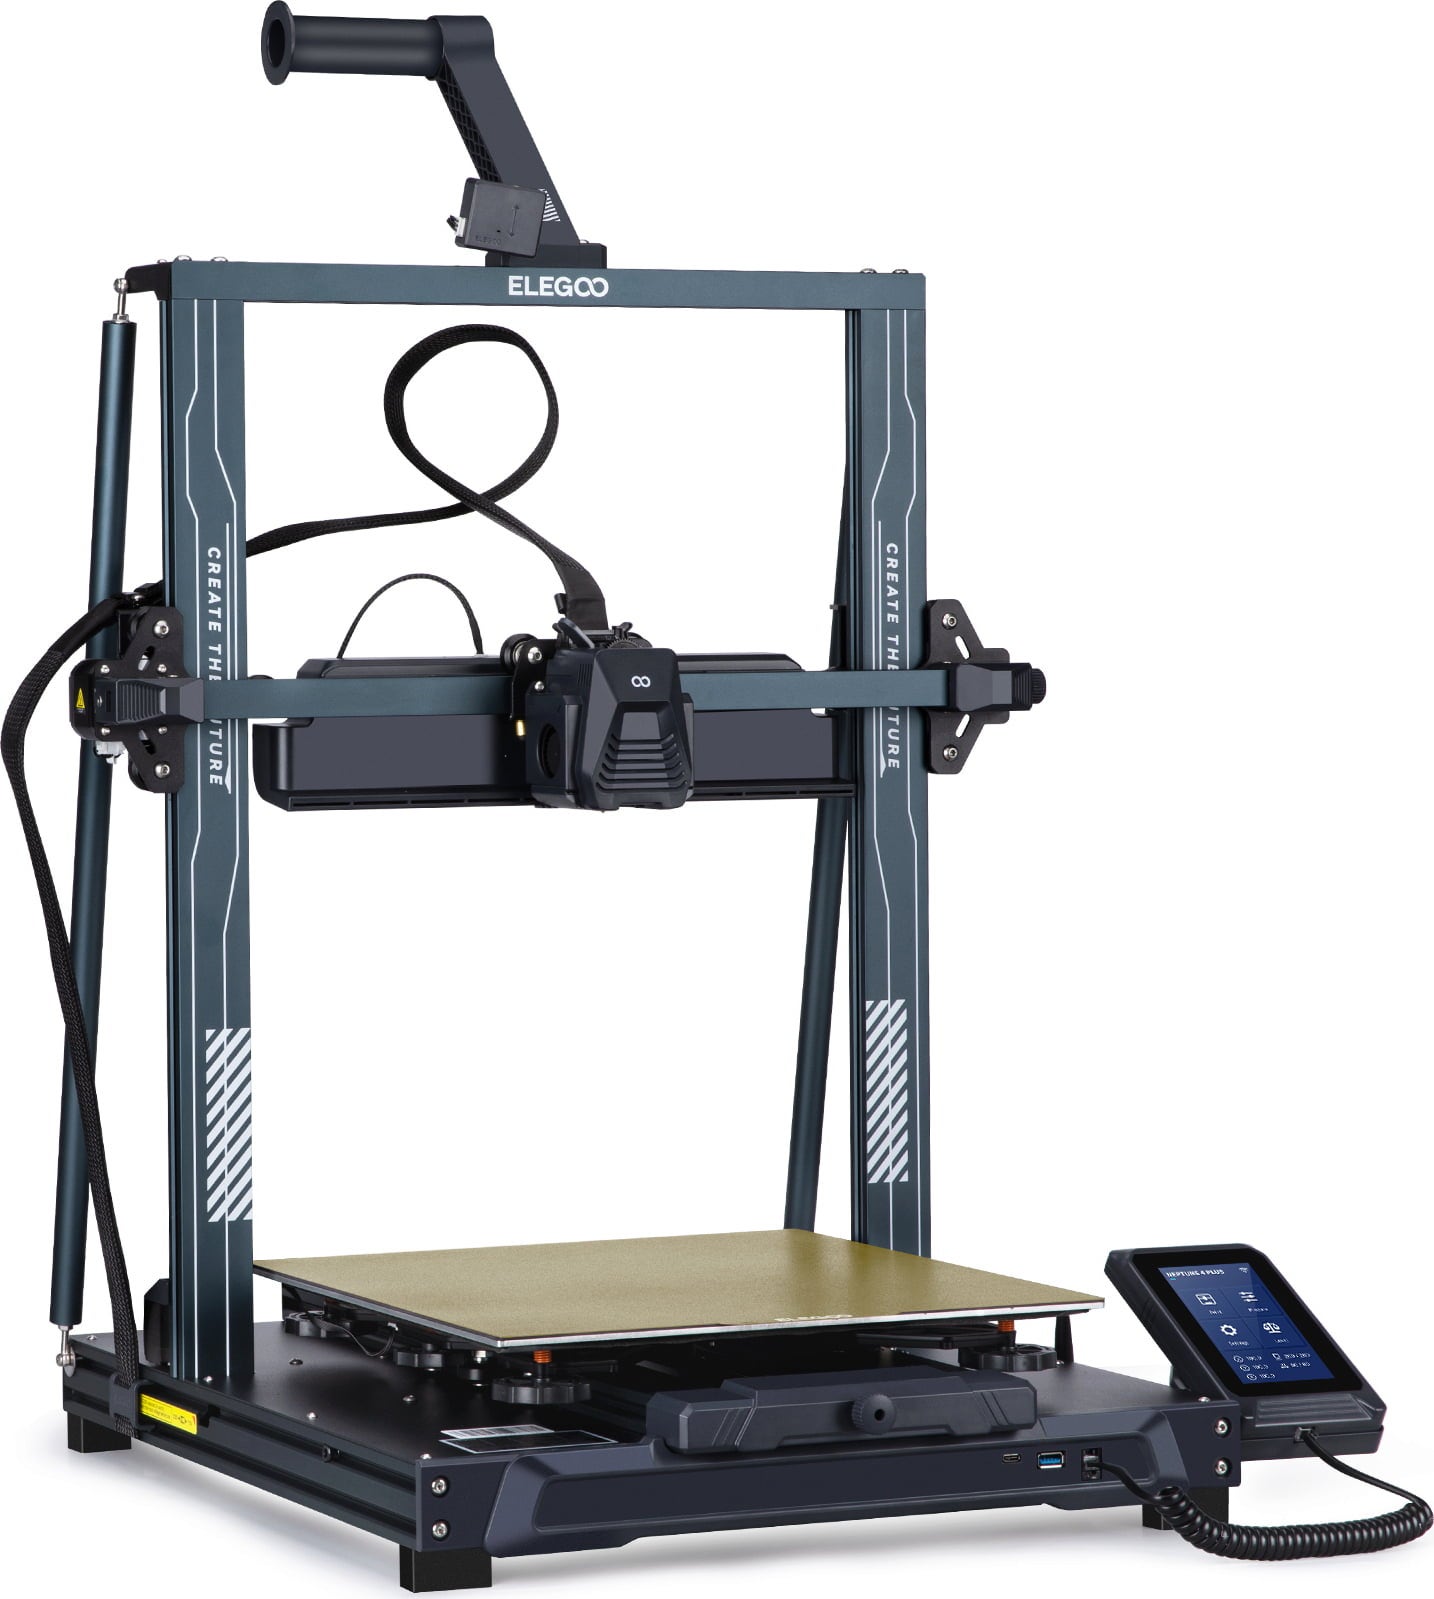
I settled on an Elegoo Neptune 4 and pitched the idea to my dad for his investment. I was really close to buying it, but at the same time had an eye on a Ricardo¹ listing [eBay or Facebook Marketplace in Switzerland] for an Ender 3 V2 Neo with a cover and some “upgrades.” I had no clue what these upgrades were, but the price tag was enticing—50 francs. So as the listing came to an end, I made a bid for 70 francs and turned off my phone, expecting to get outbid since the listing had been quite competitive.
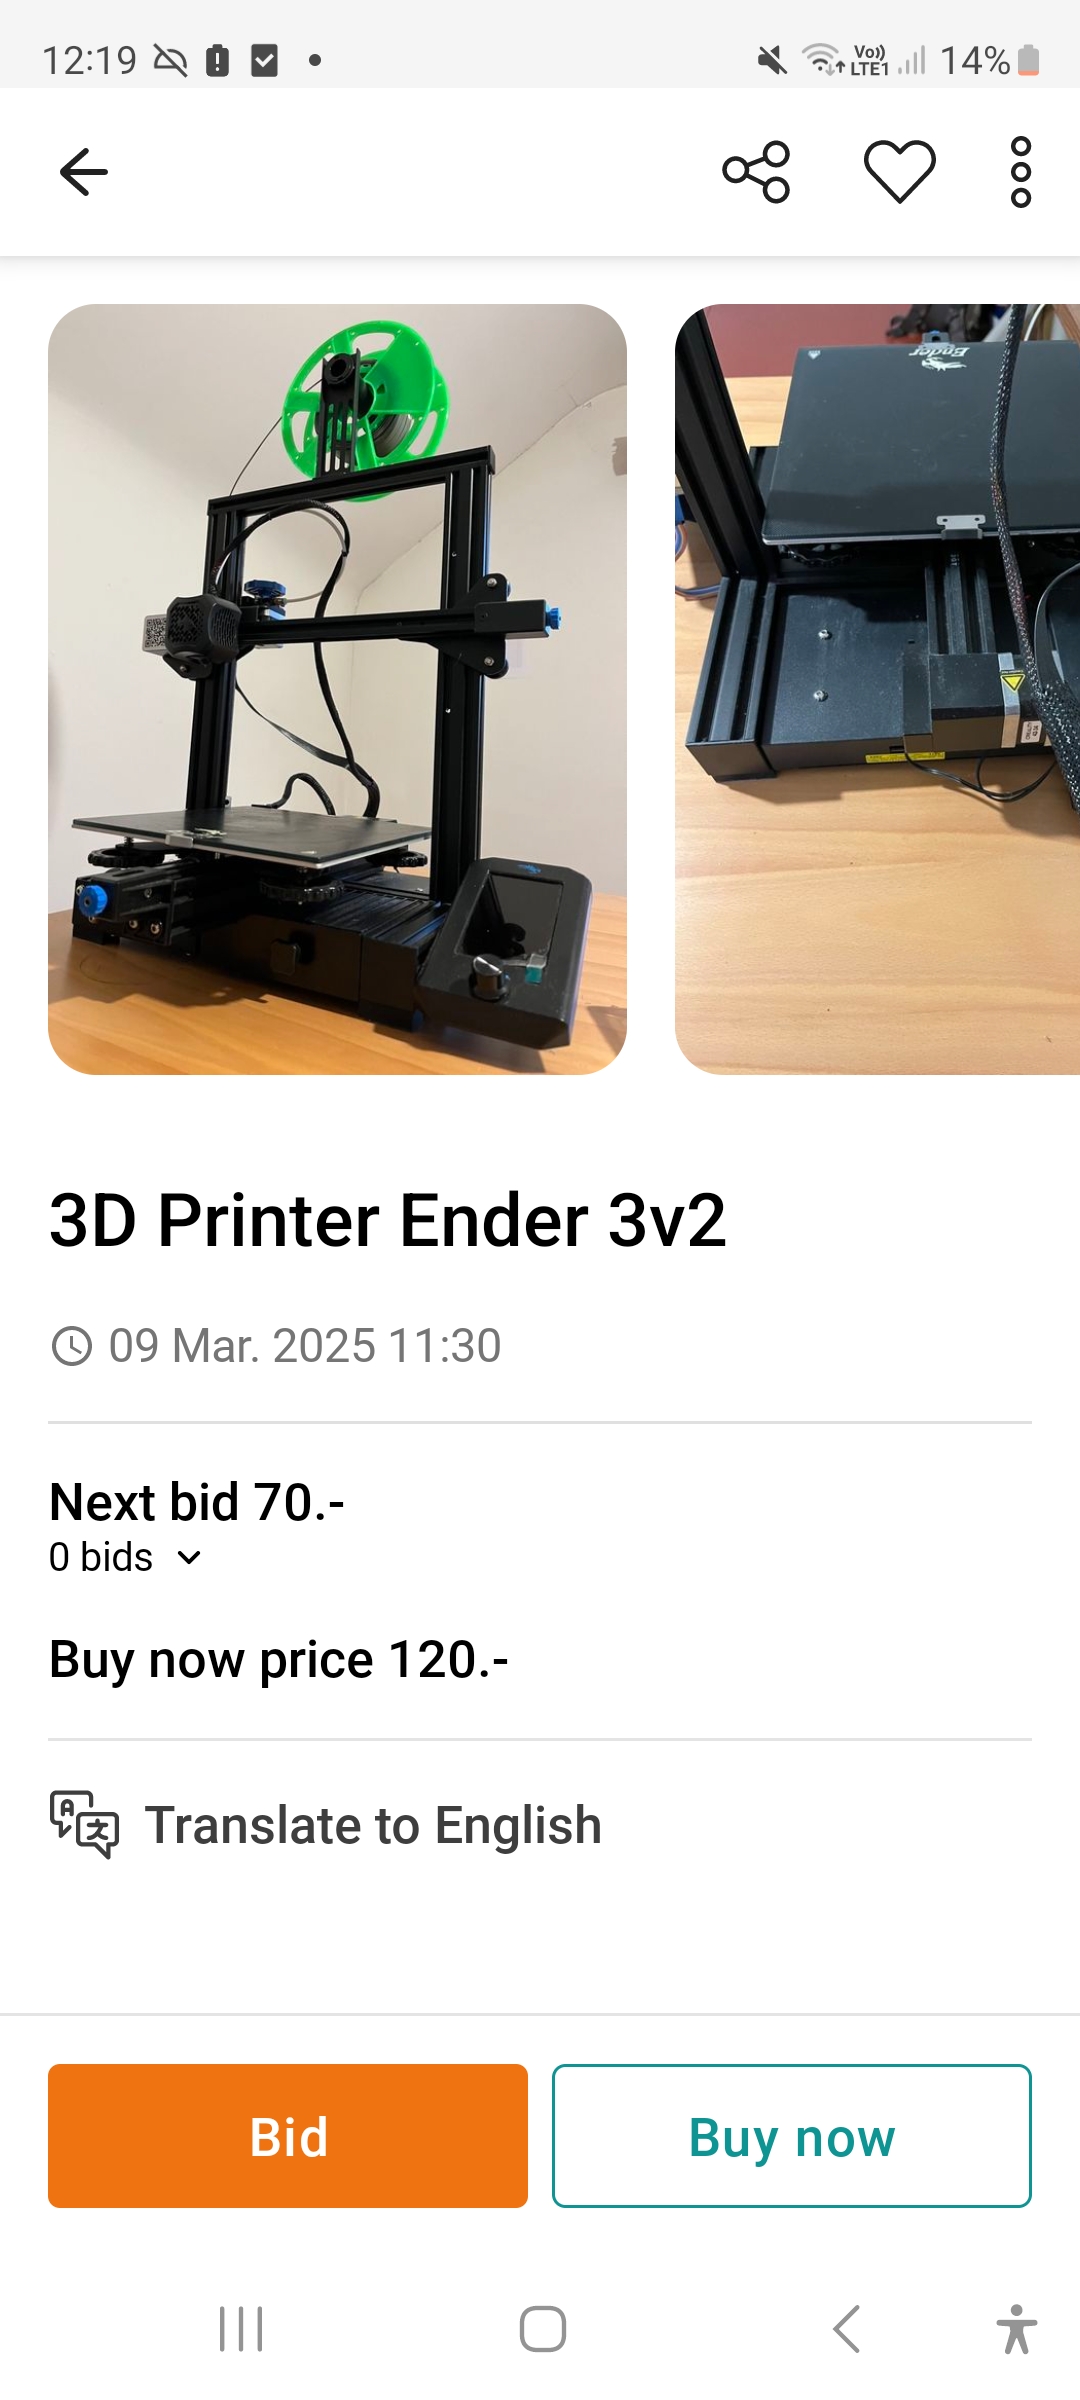
Imagine my surprise when a couple of hours later I found myself the owner of an Ender 3, which I would now have to pick up. Luckily it was in the same city, but it was still a pretty challenging journey from the guy’s house all the way to the main train station and back home. The first days with the printer were great—prints were great quality and it was just a plug-and-play procedure.
The first weeks went by and some issues arose, mostly just bed leveling, something which at the beginning I did manually with the “sheet of paper” technique. It was a fun, hands-on process.
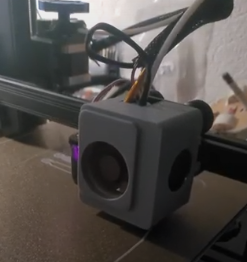
Then came the first major clog and the first time taking the printer apart for manual cleaning.
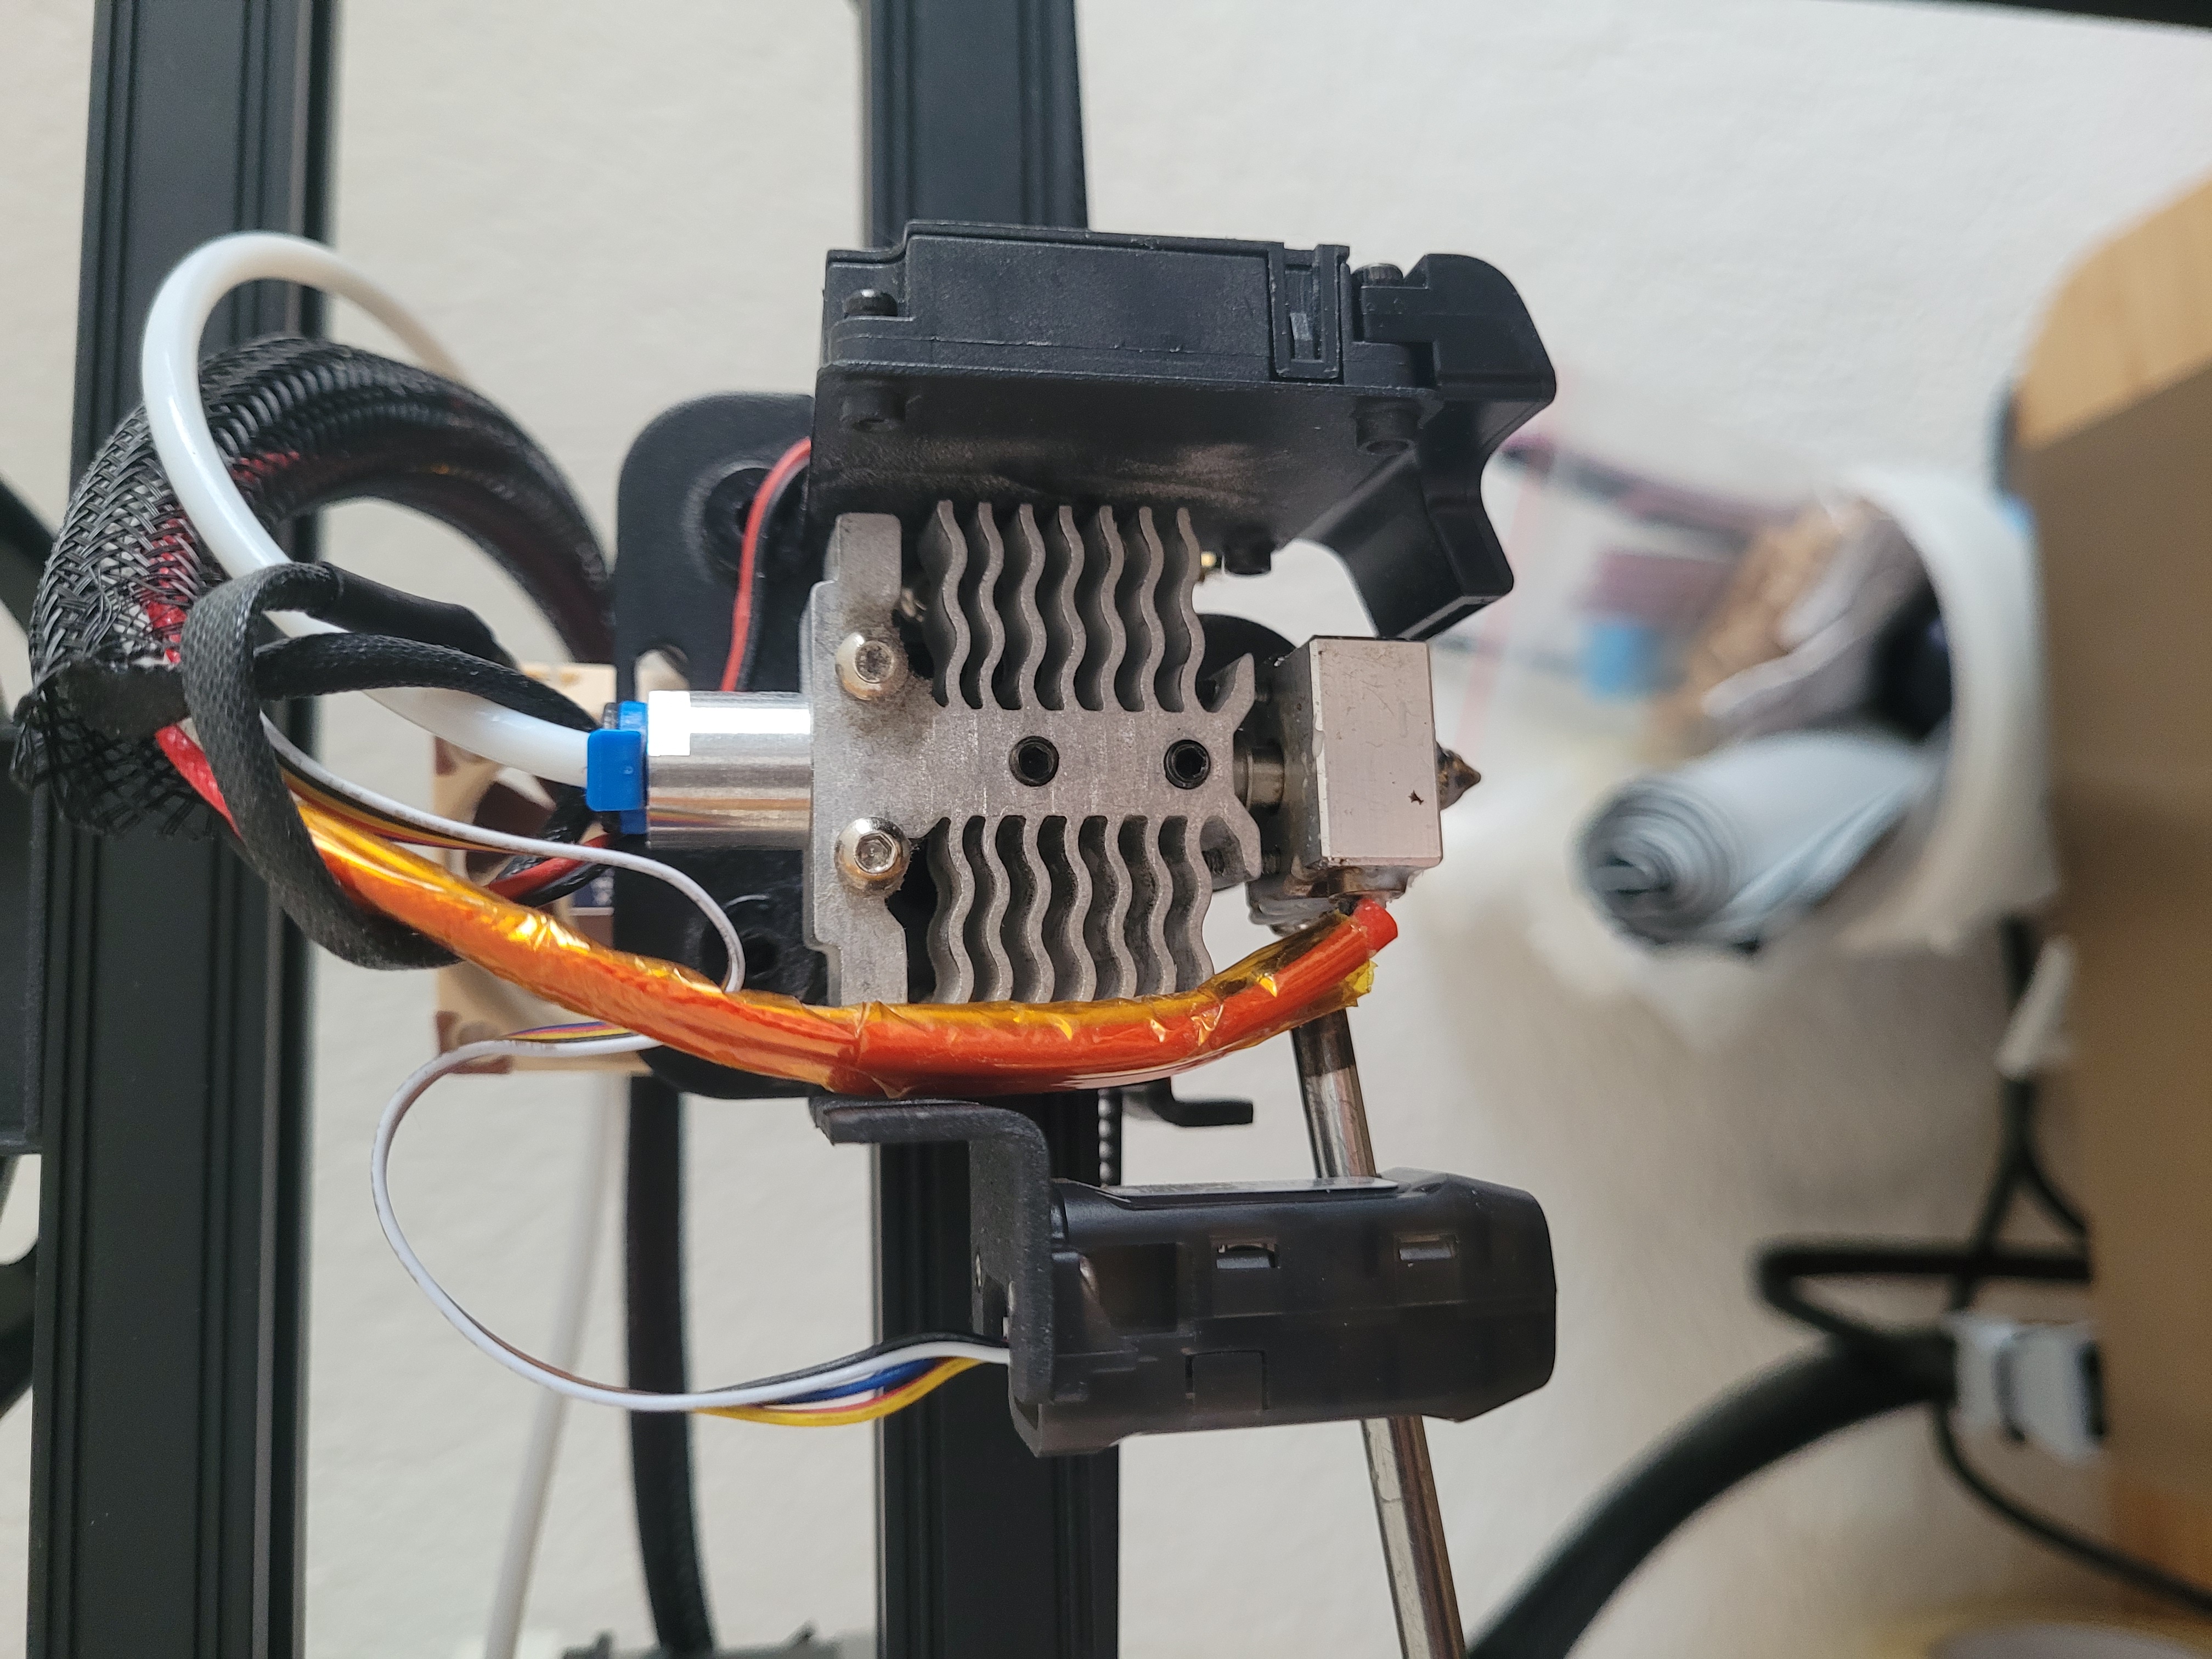
The first time you disassemble a device seems really intimidating, but you get an understanding of the individual parts and how they all play together to make the product work, and it then doesn’t seem as complicated as it initially appears.
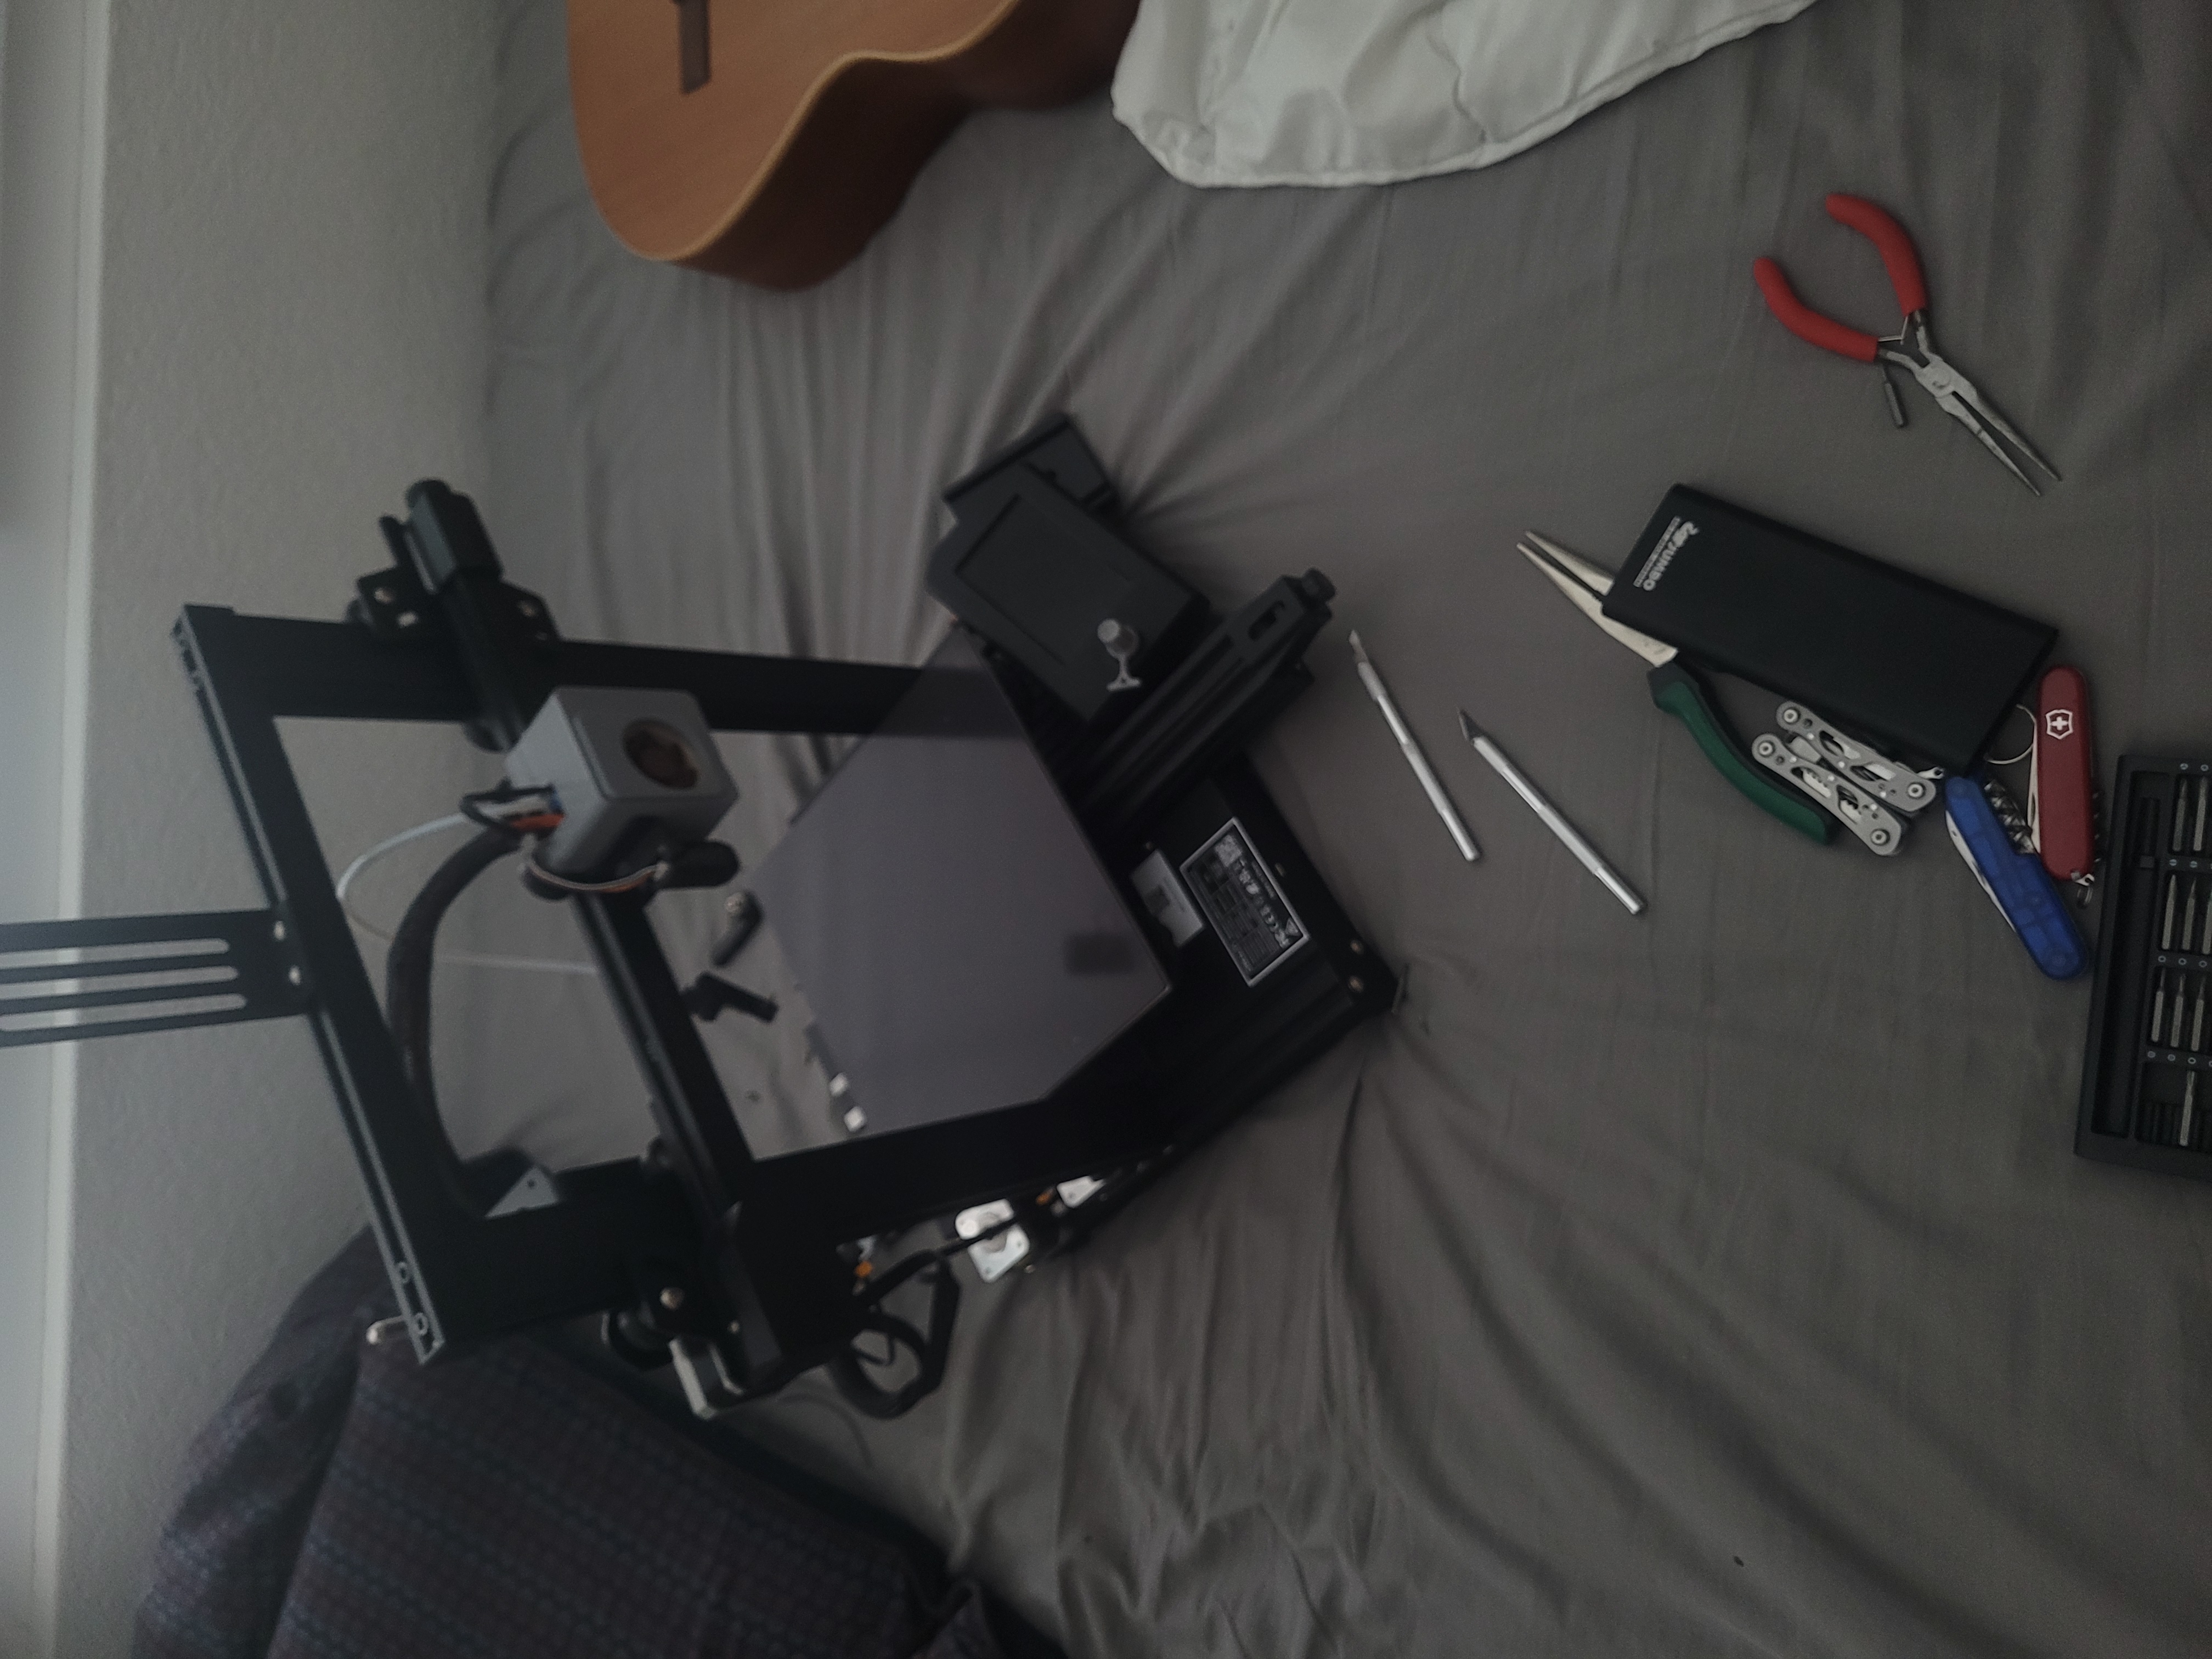
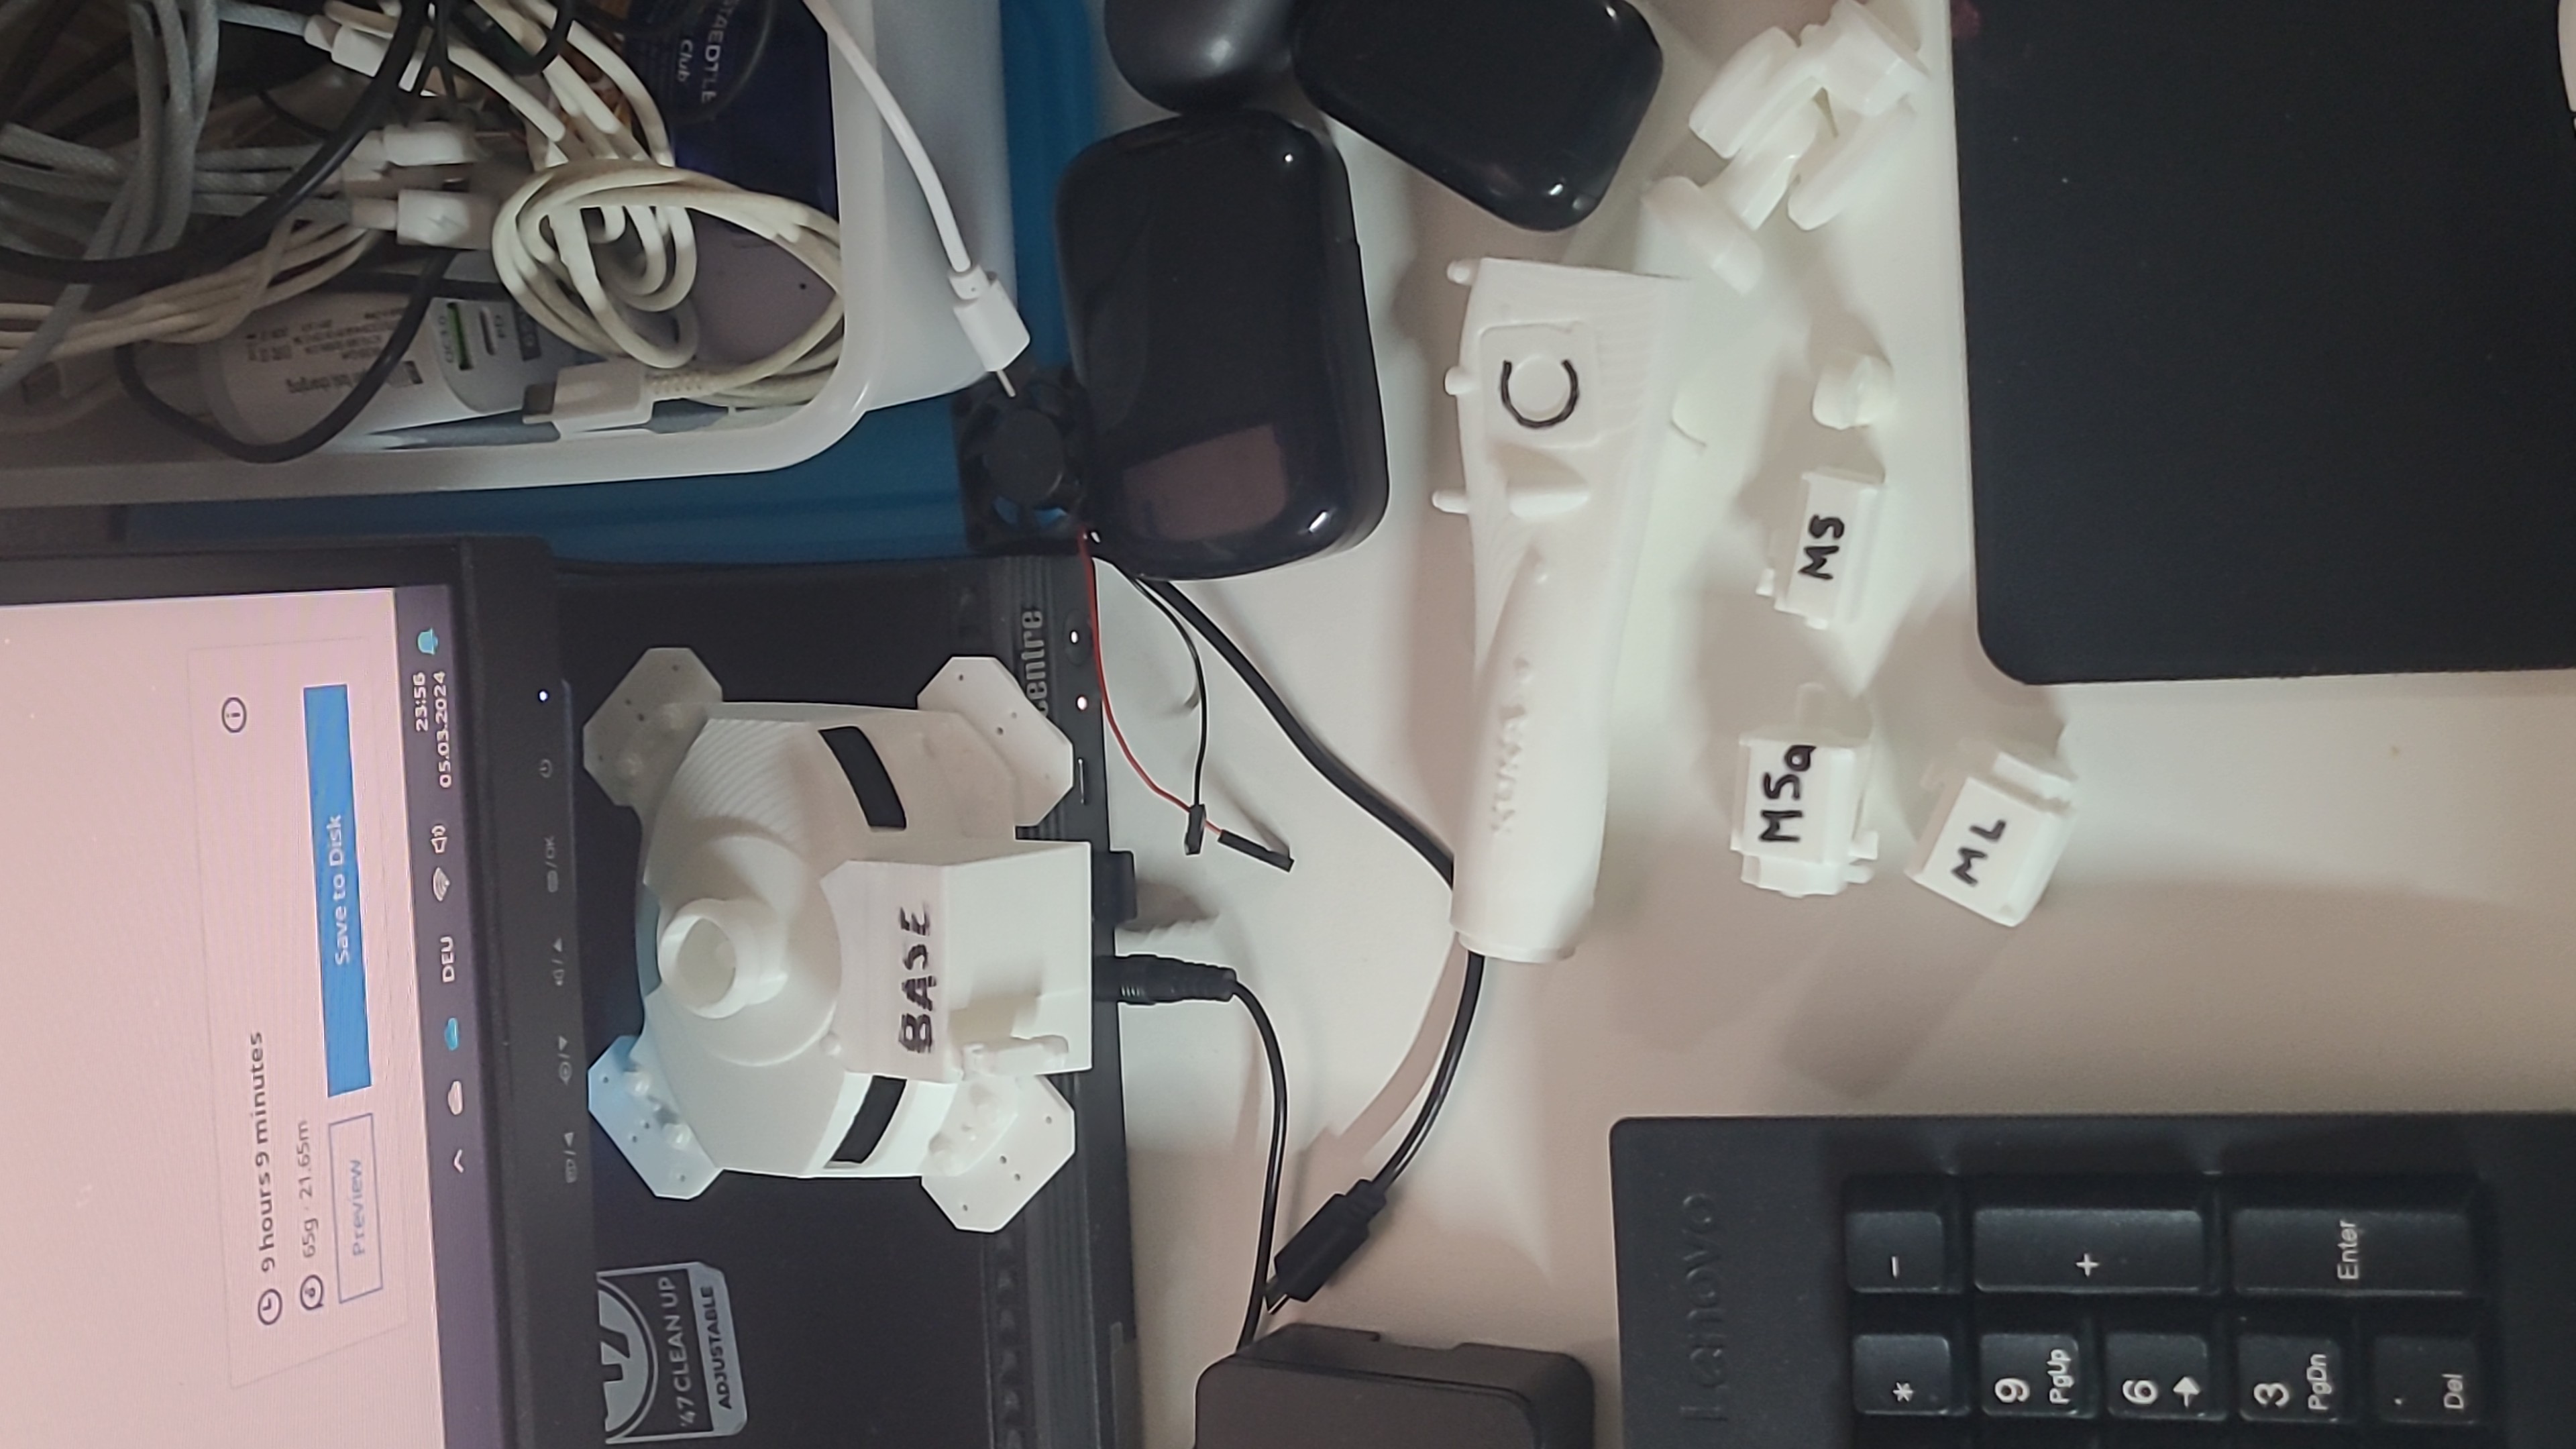
By this time I had run out of random trinkets I found on Thingiverse and started a new robotic arm project. This time it would be 3D printed. I centered the whole project around an actuator design driven by a servo motor. It was bulky, but it removed the wobble and inaccuracies of my past design.
Along the way, I printed the biggest parts I had ever printed and ran into some warping, but with an enclosure and brims, those issues went away too.
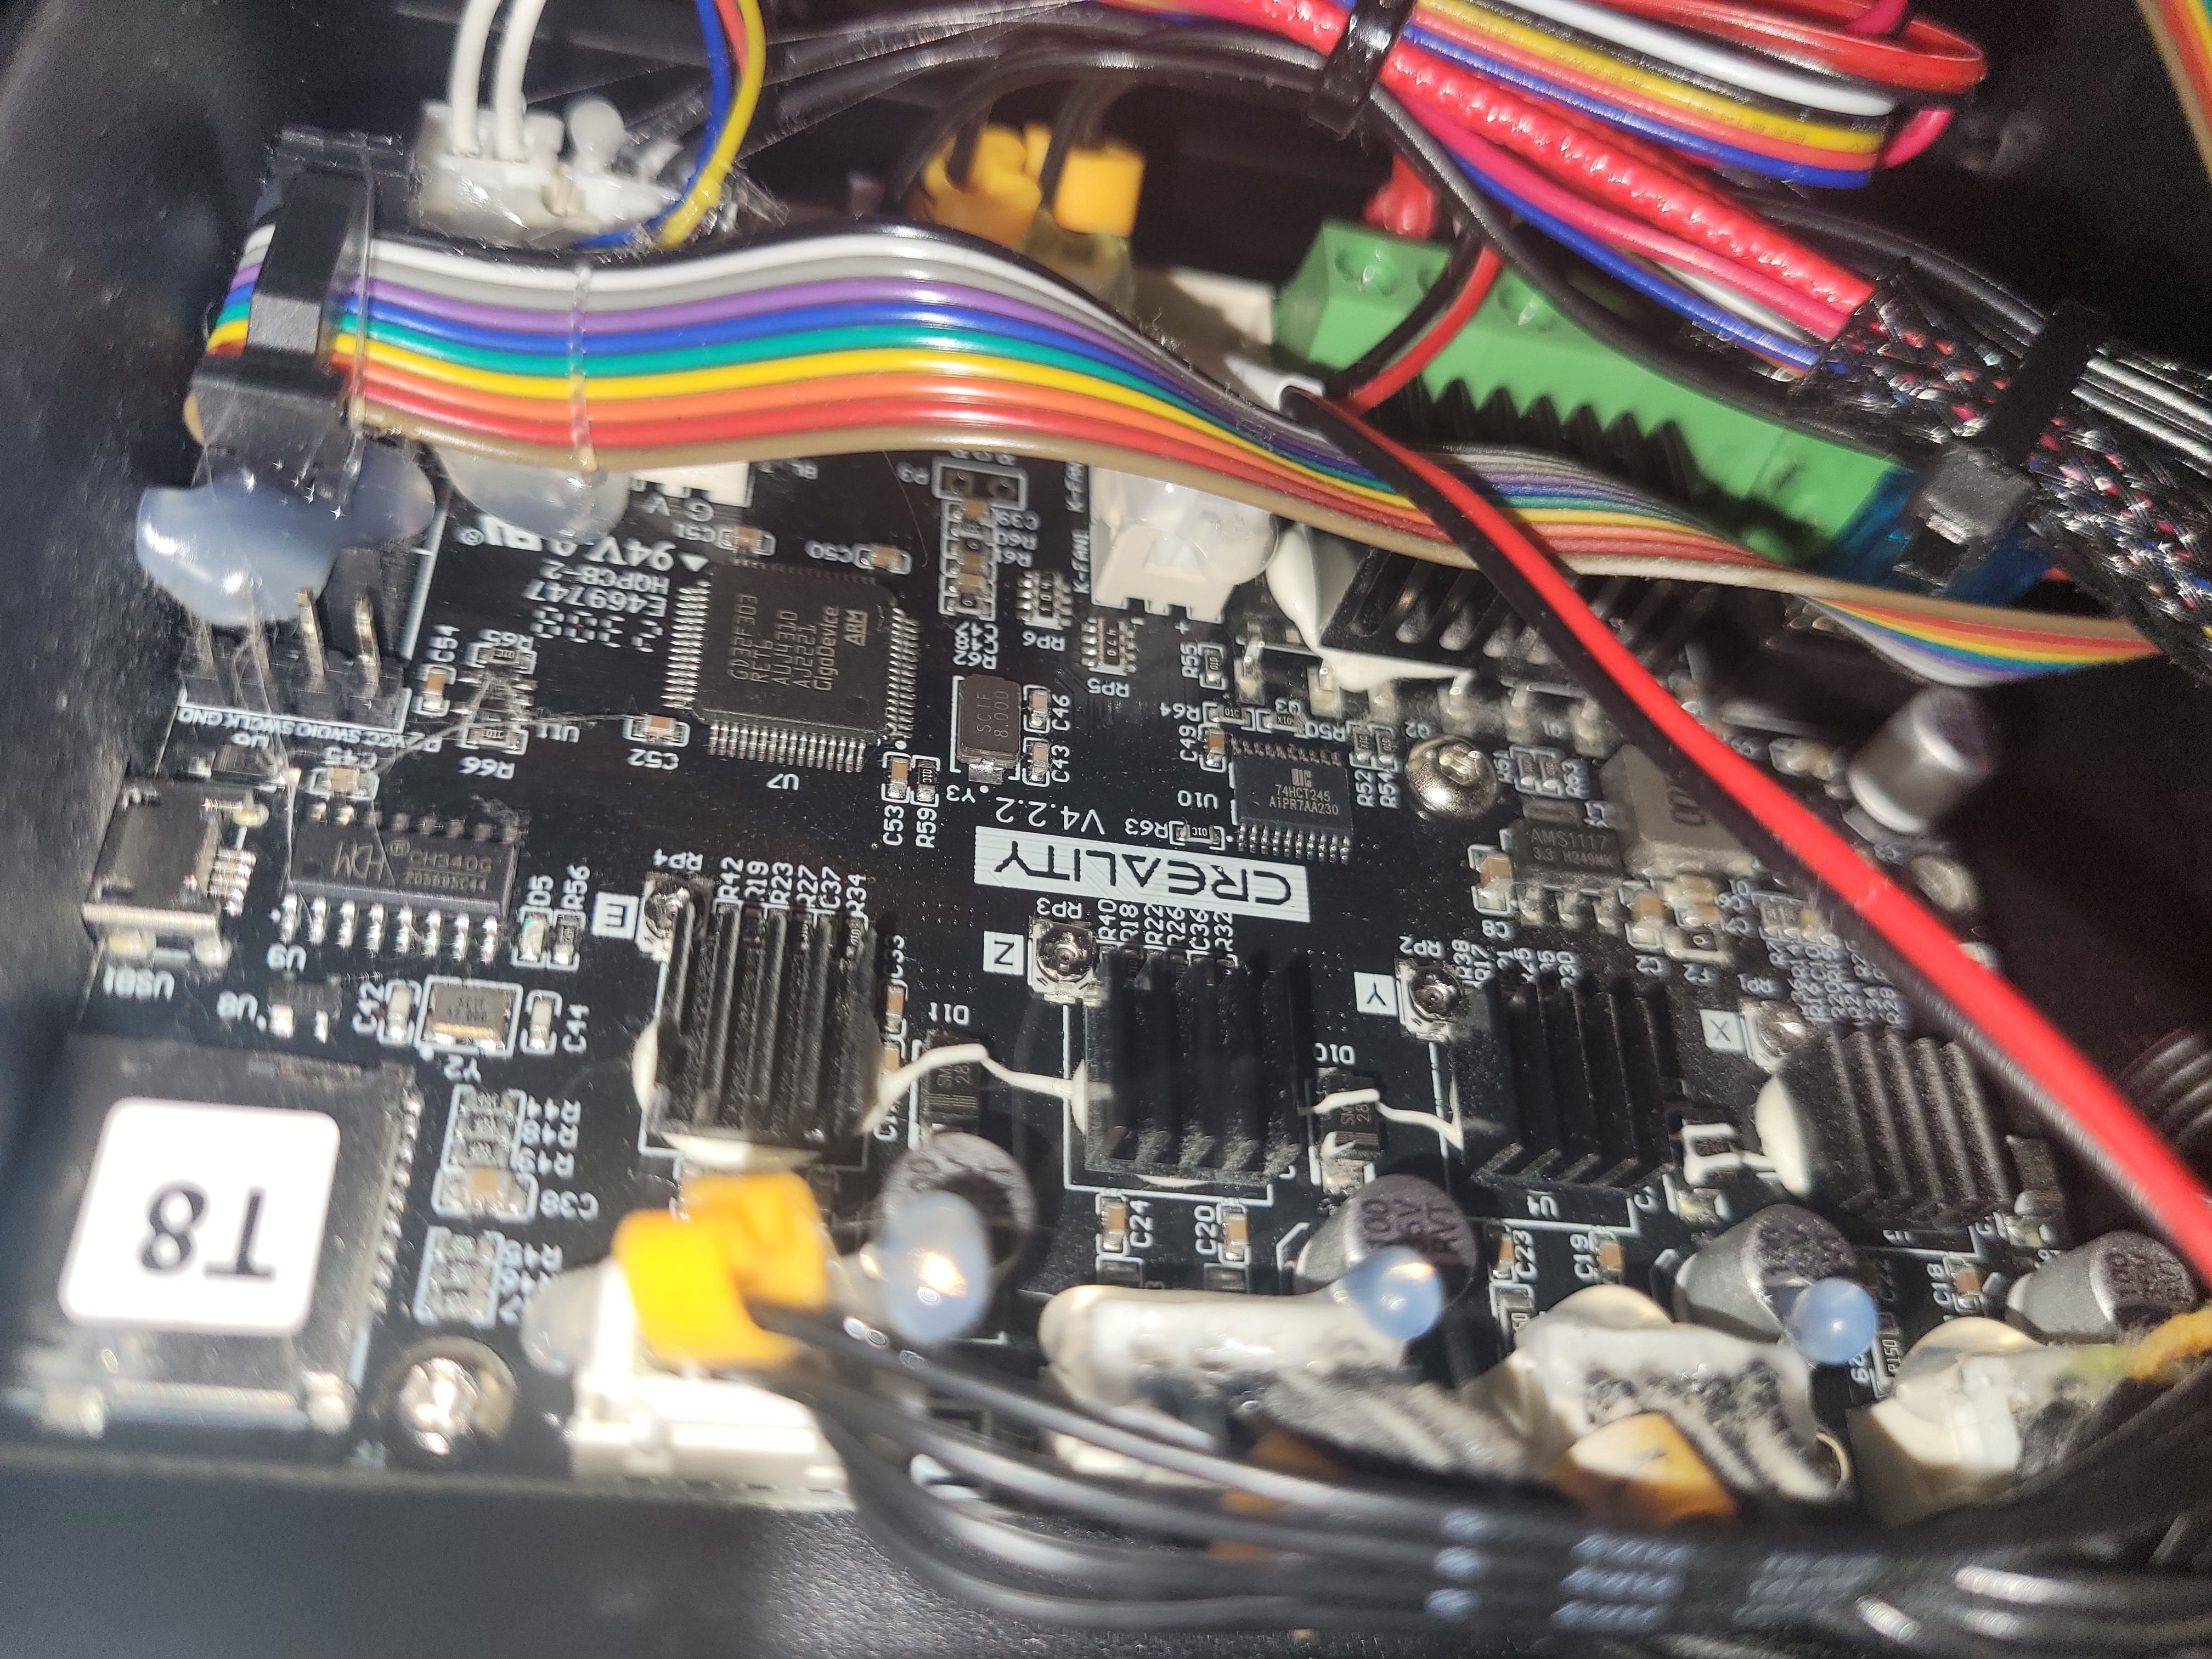
The next big step I took was upgrading to custom firmware (Marlin). This was an exciting process—finding out the board number and uploading the corresponding firmware was easy, but then you have to update the display as well. The new firmware is miles ahead of the stock one when it comes to calibration.
Tools like the:
Tramming wizard - probes the four corners of the build plate to make sure the bed is (somewhat) level Mesh builder - a lifesaver when your bed isn’t micrometer perfect (which it never is), maps the hills and valleys of the bed and creates a 9x9 square mesh of the Z-probe heights
With these tools, I have had quite a bit of success printing even on refurbished Ender 3s that are (comparatively) outdated and not well taken care of.
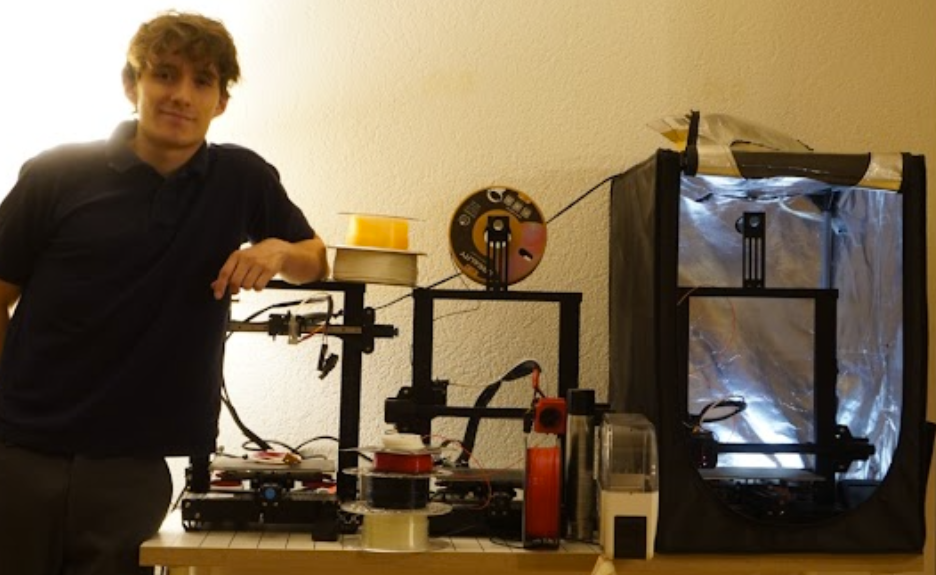
At the moment, I have a measly fleet of 2 Ender 3 V2s and an Ender 3 V2 Neo. I’m not planning to expand further, unless I find an unskippable offer on a marketplace for a fourth. Here is a gallery of things I have printed:
Upgraded Matura Thesis Robot Arm
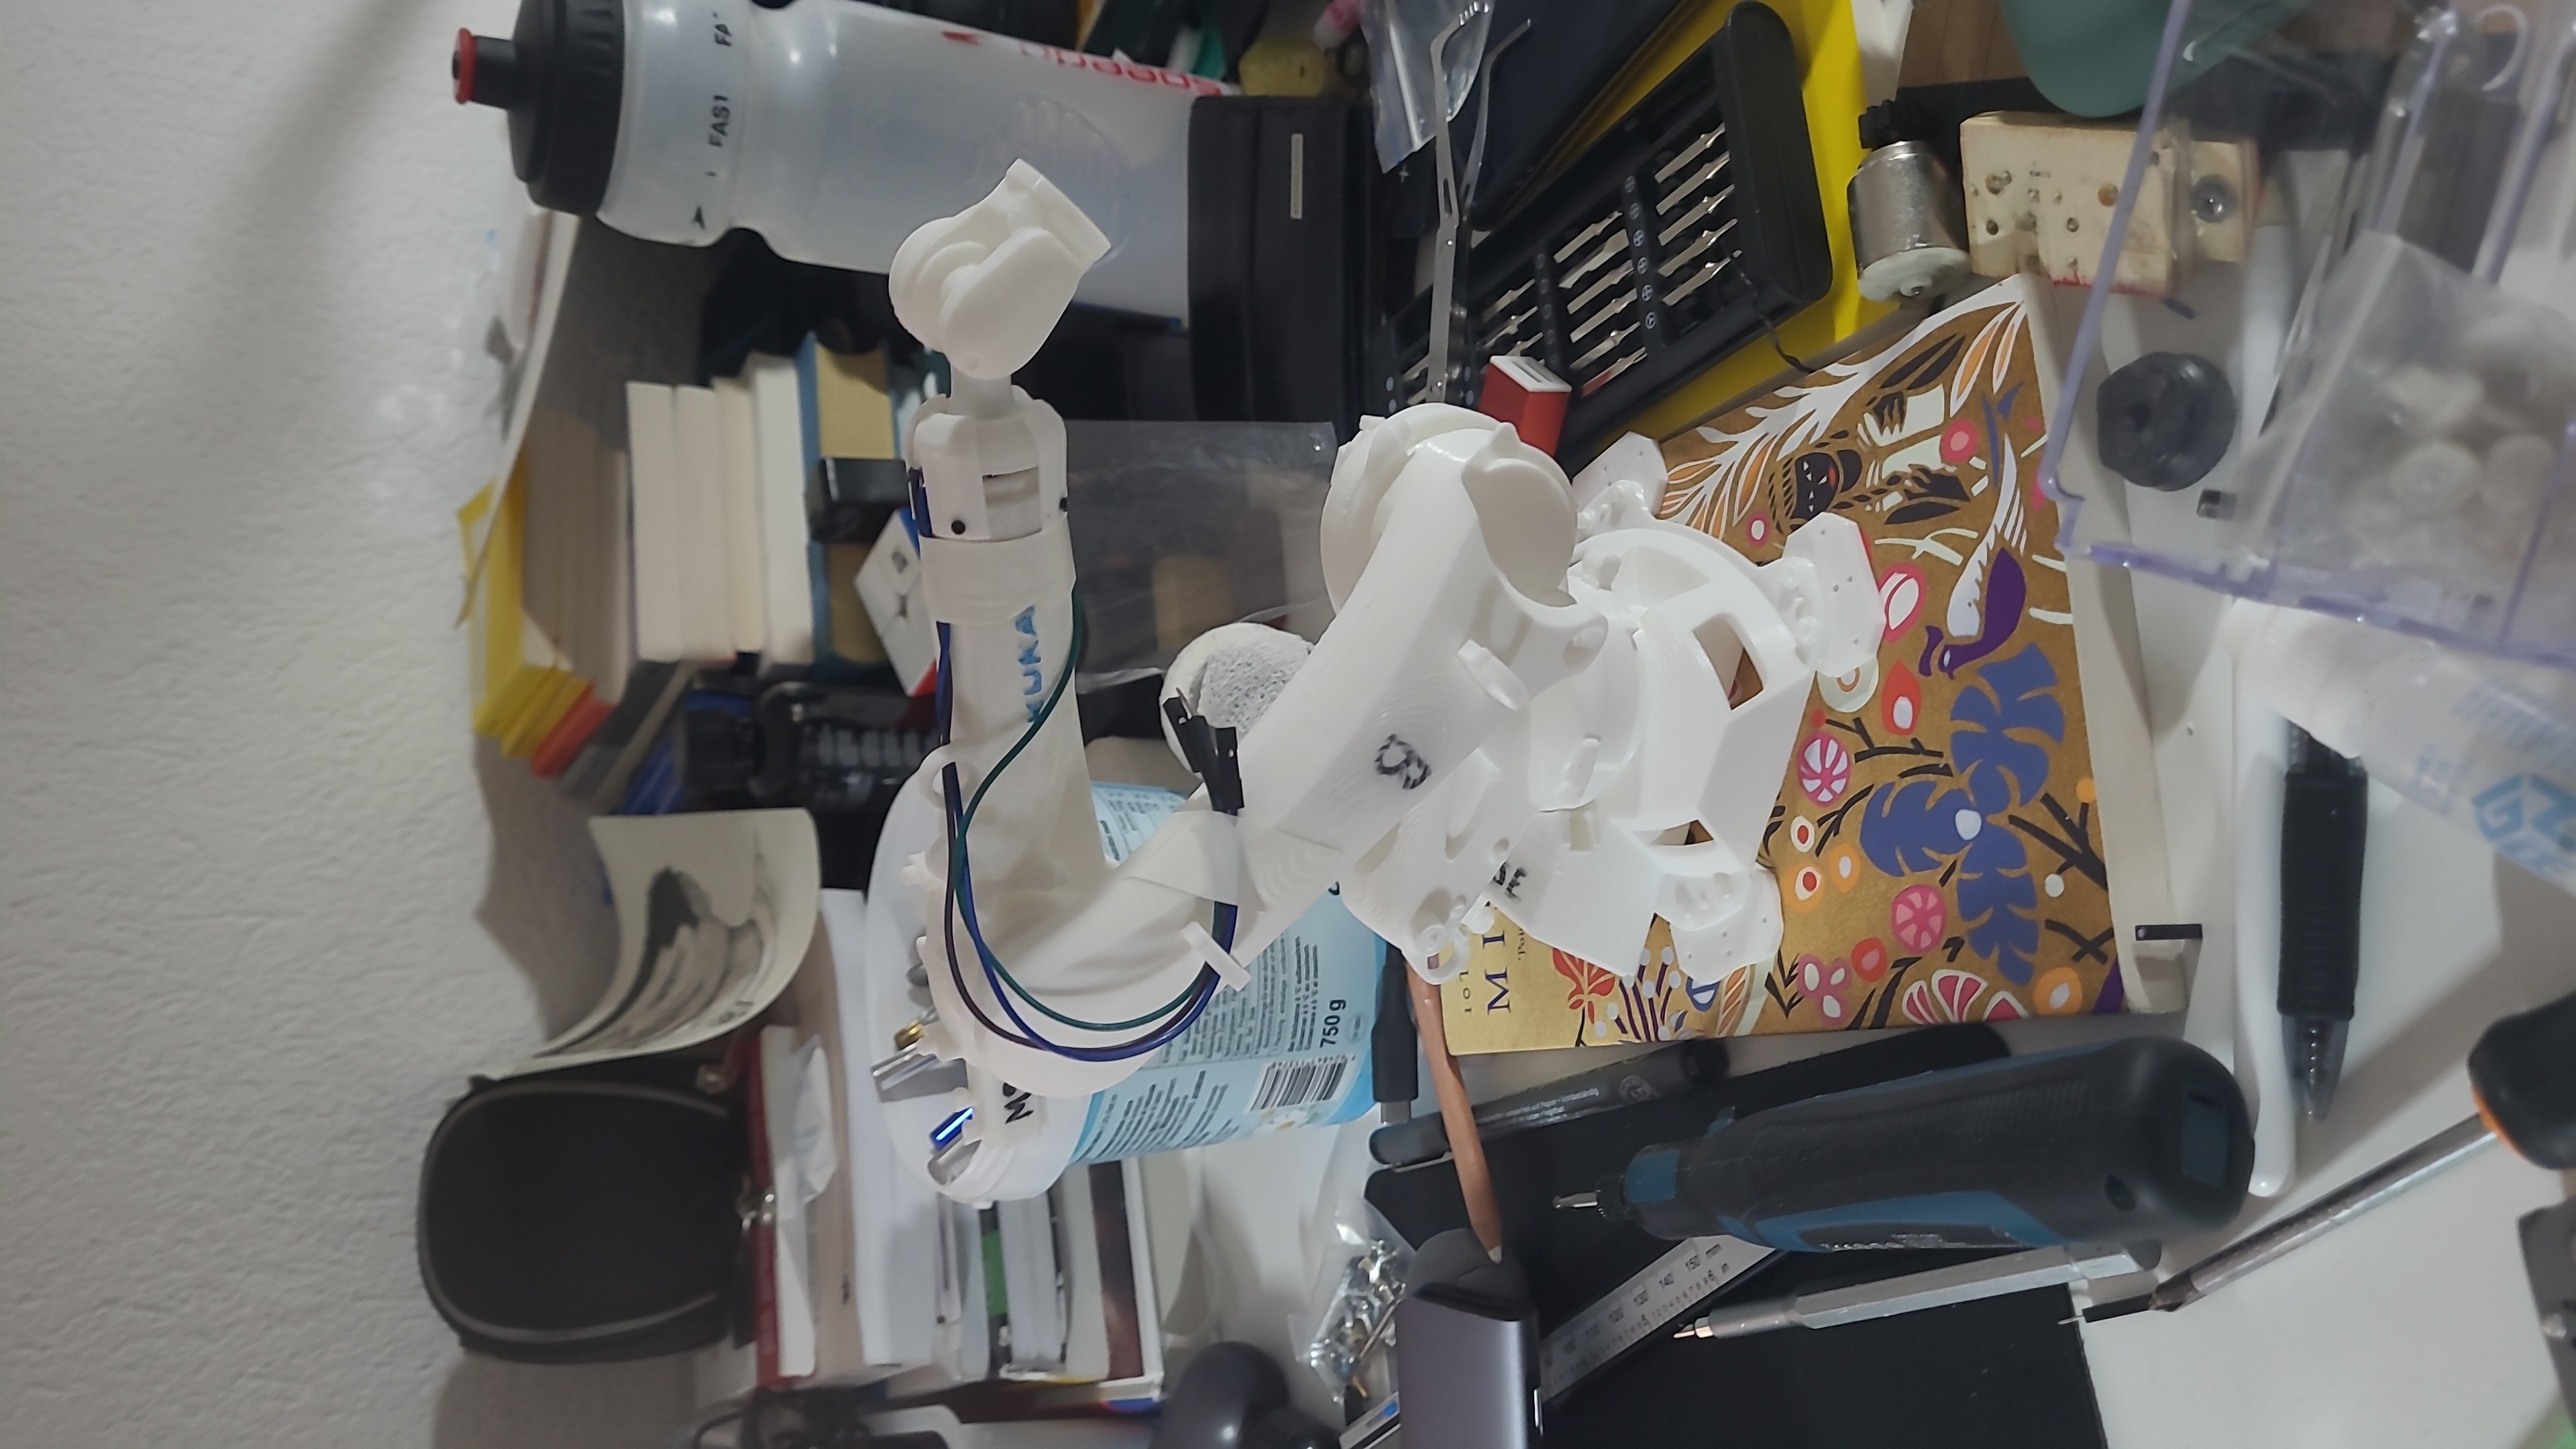
Kuka model robot with built in potentiometers at the joints (was intended to be used as a position joystick for the robot arm)
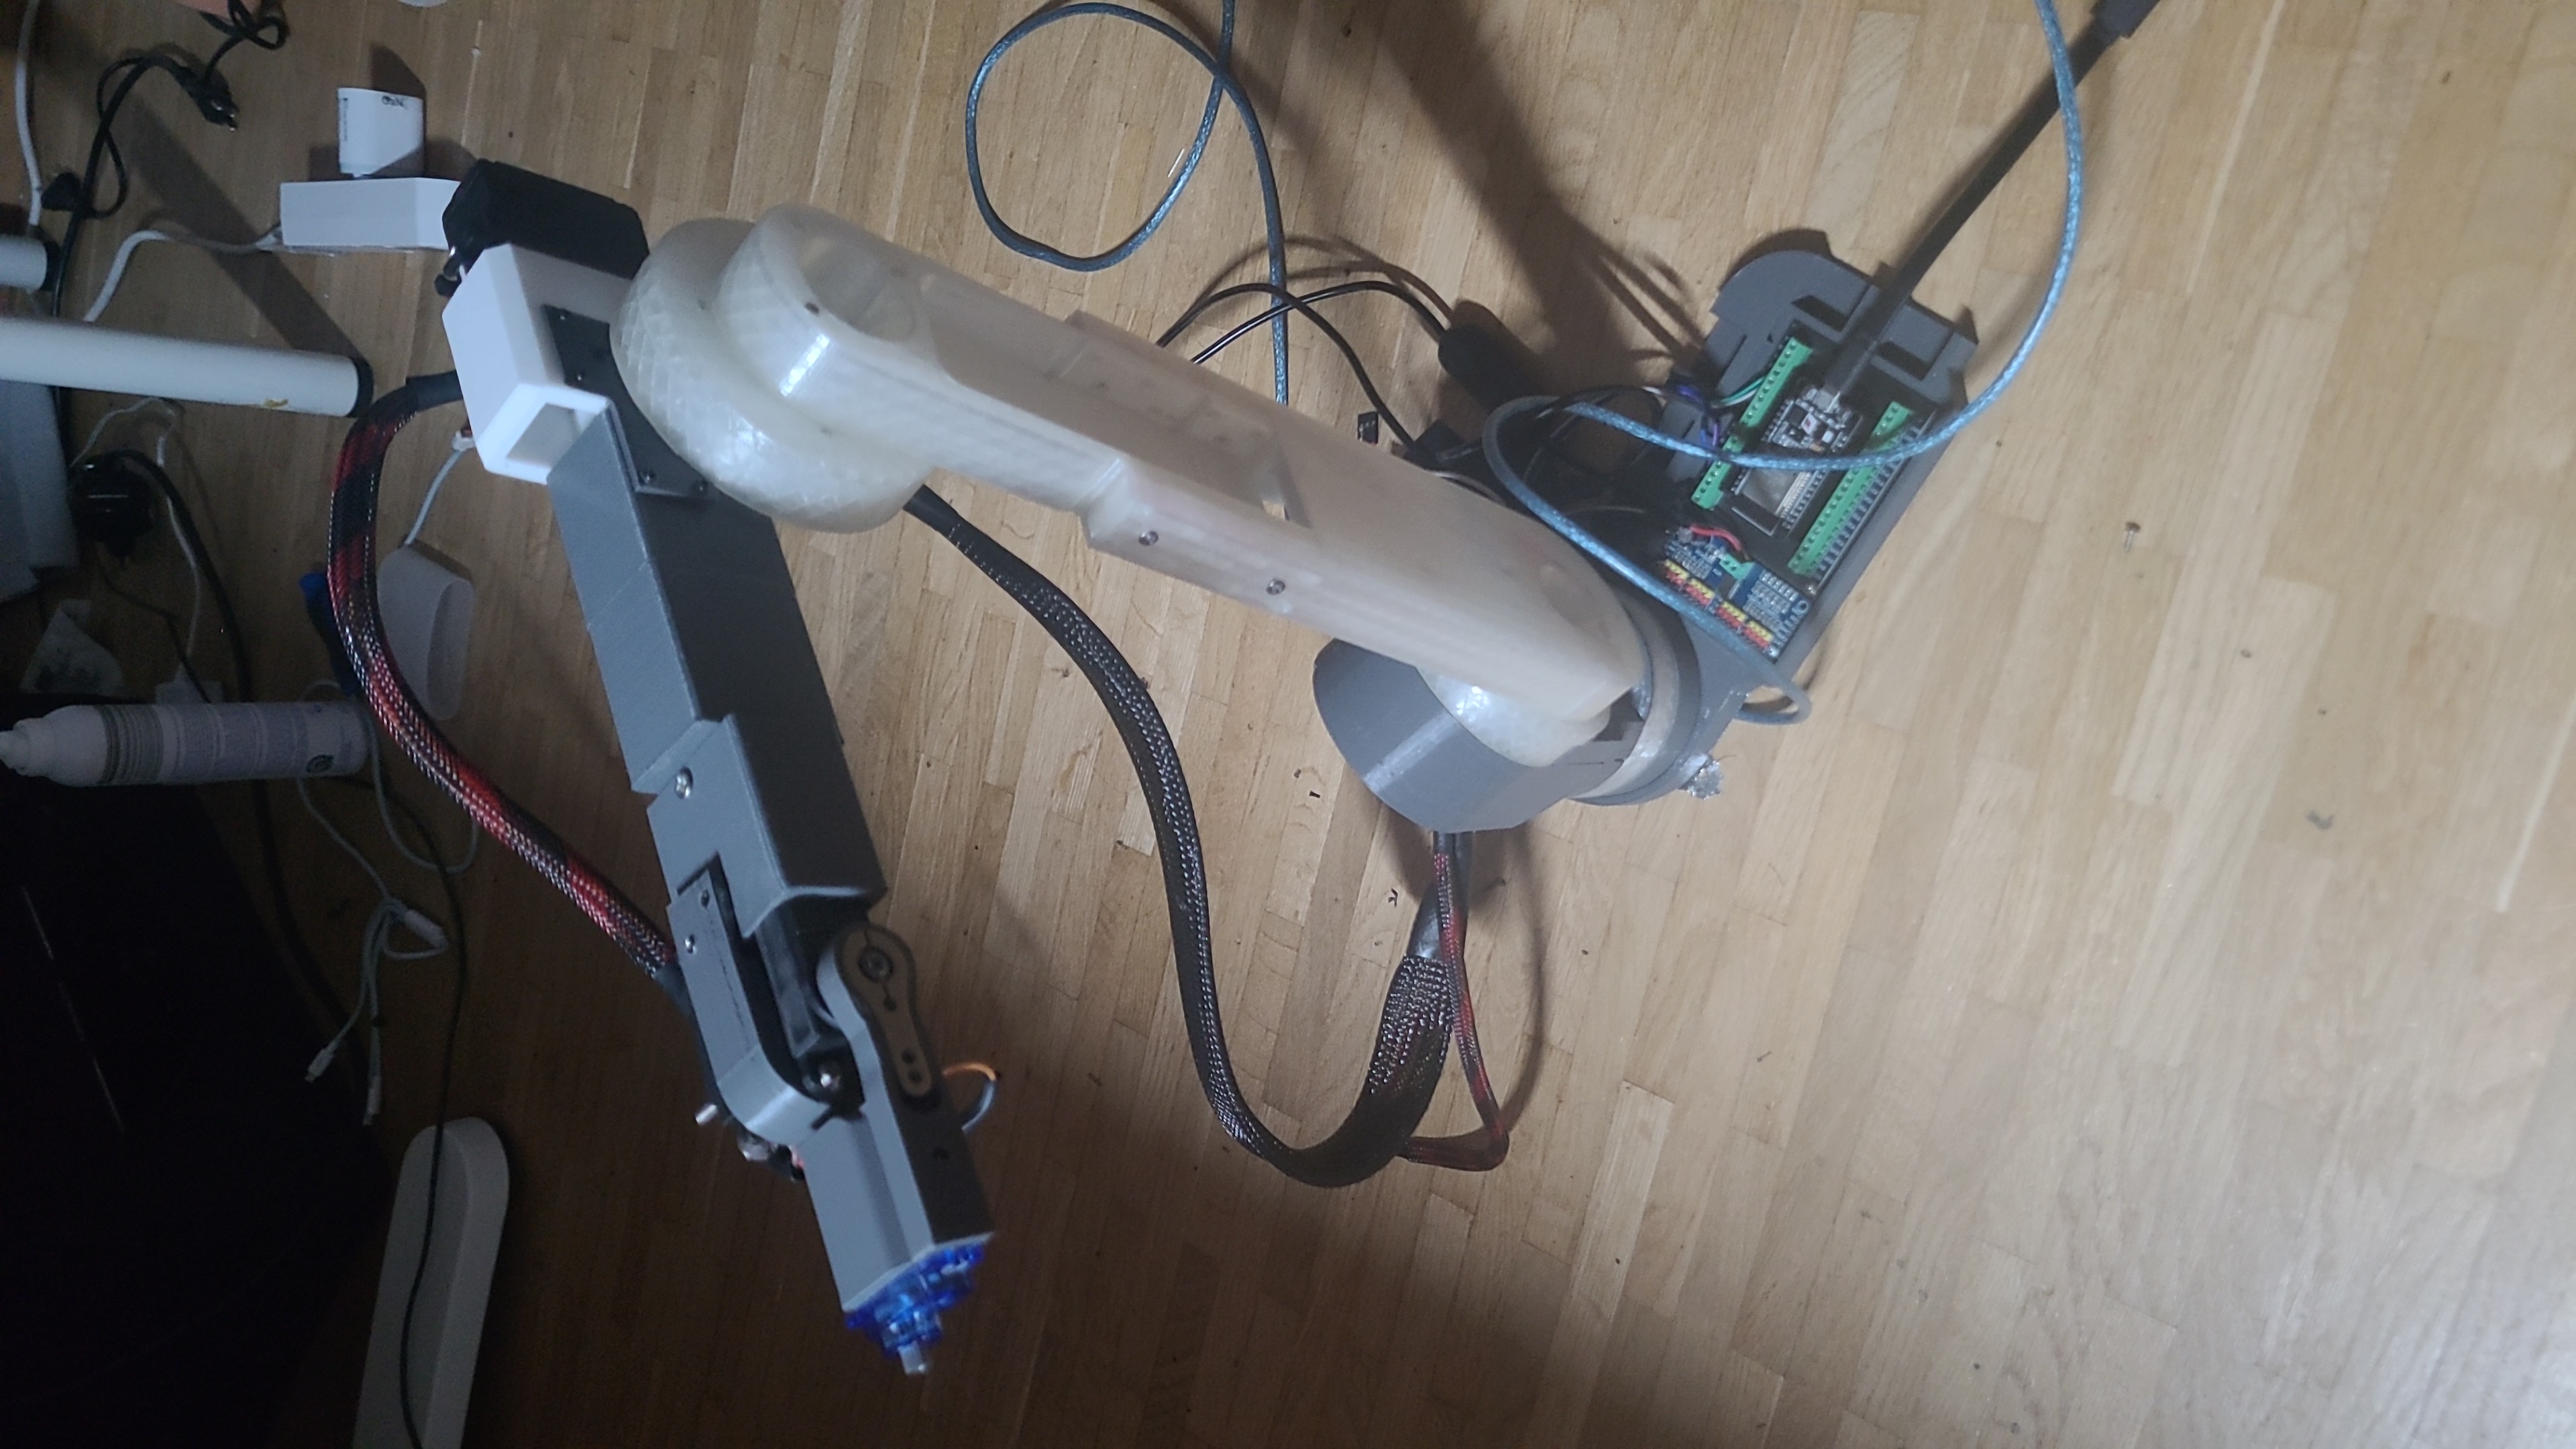
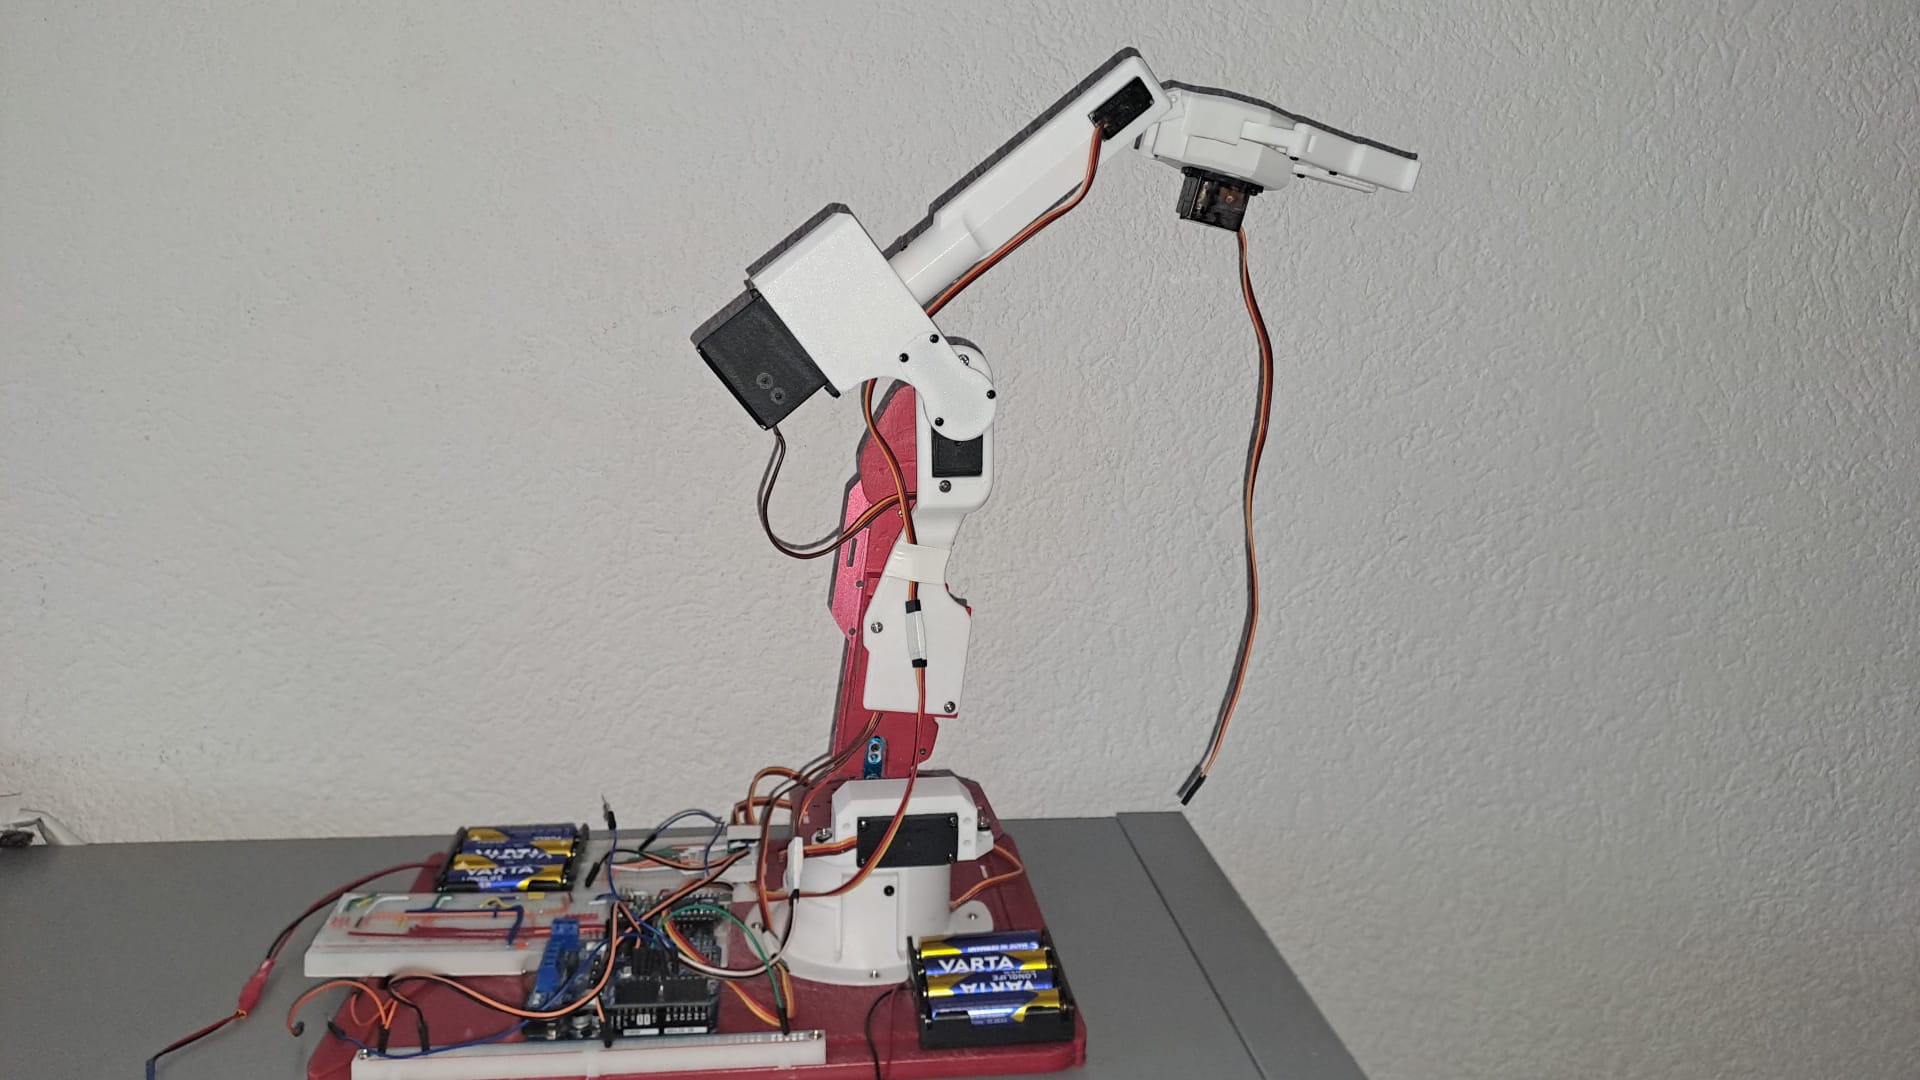
Robot arm v6, current and latest build (my fav. child)
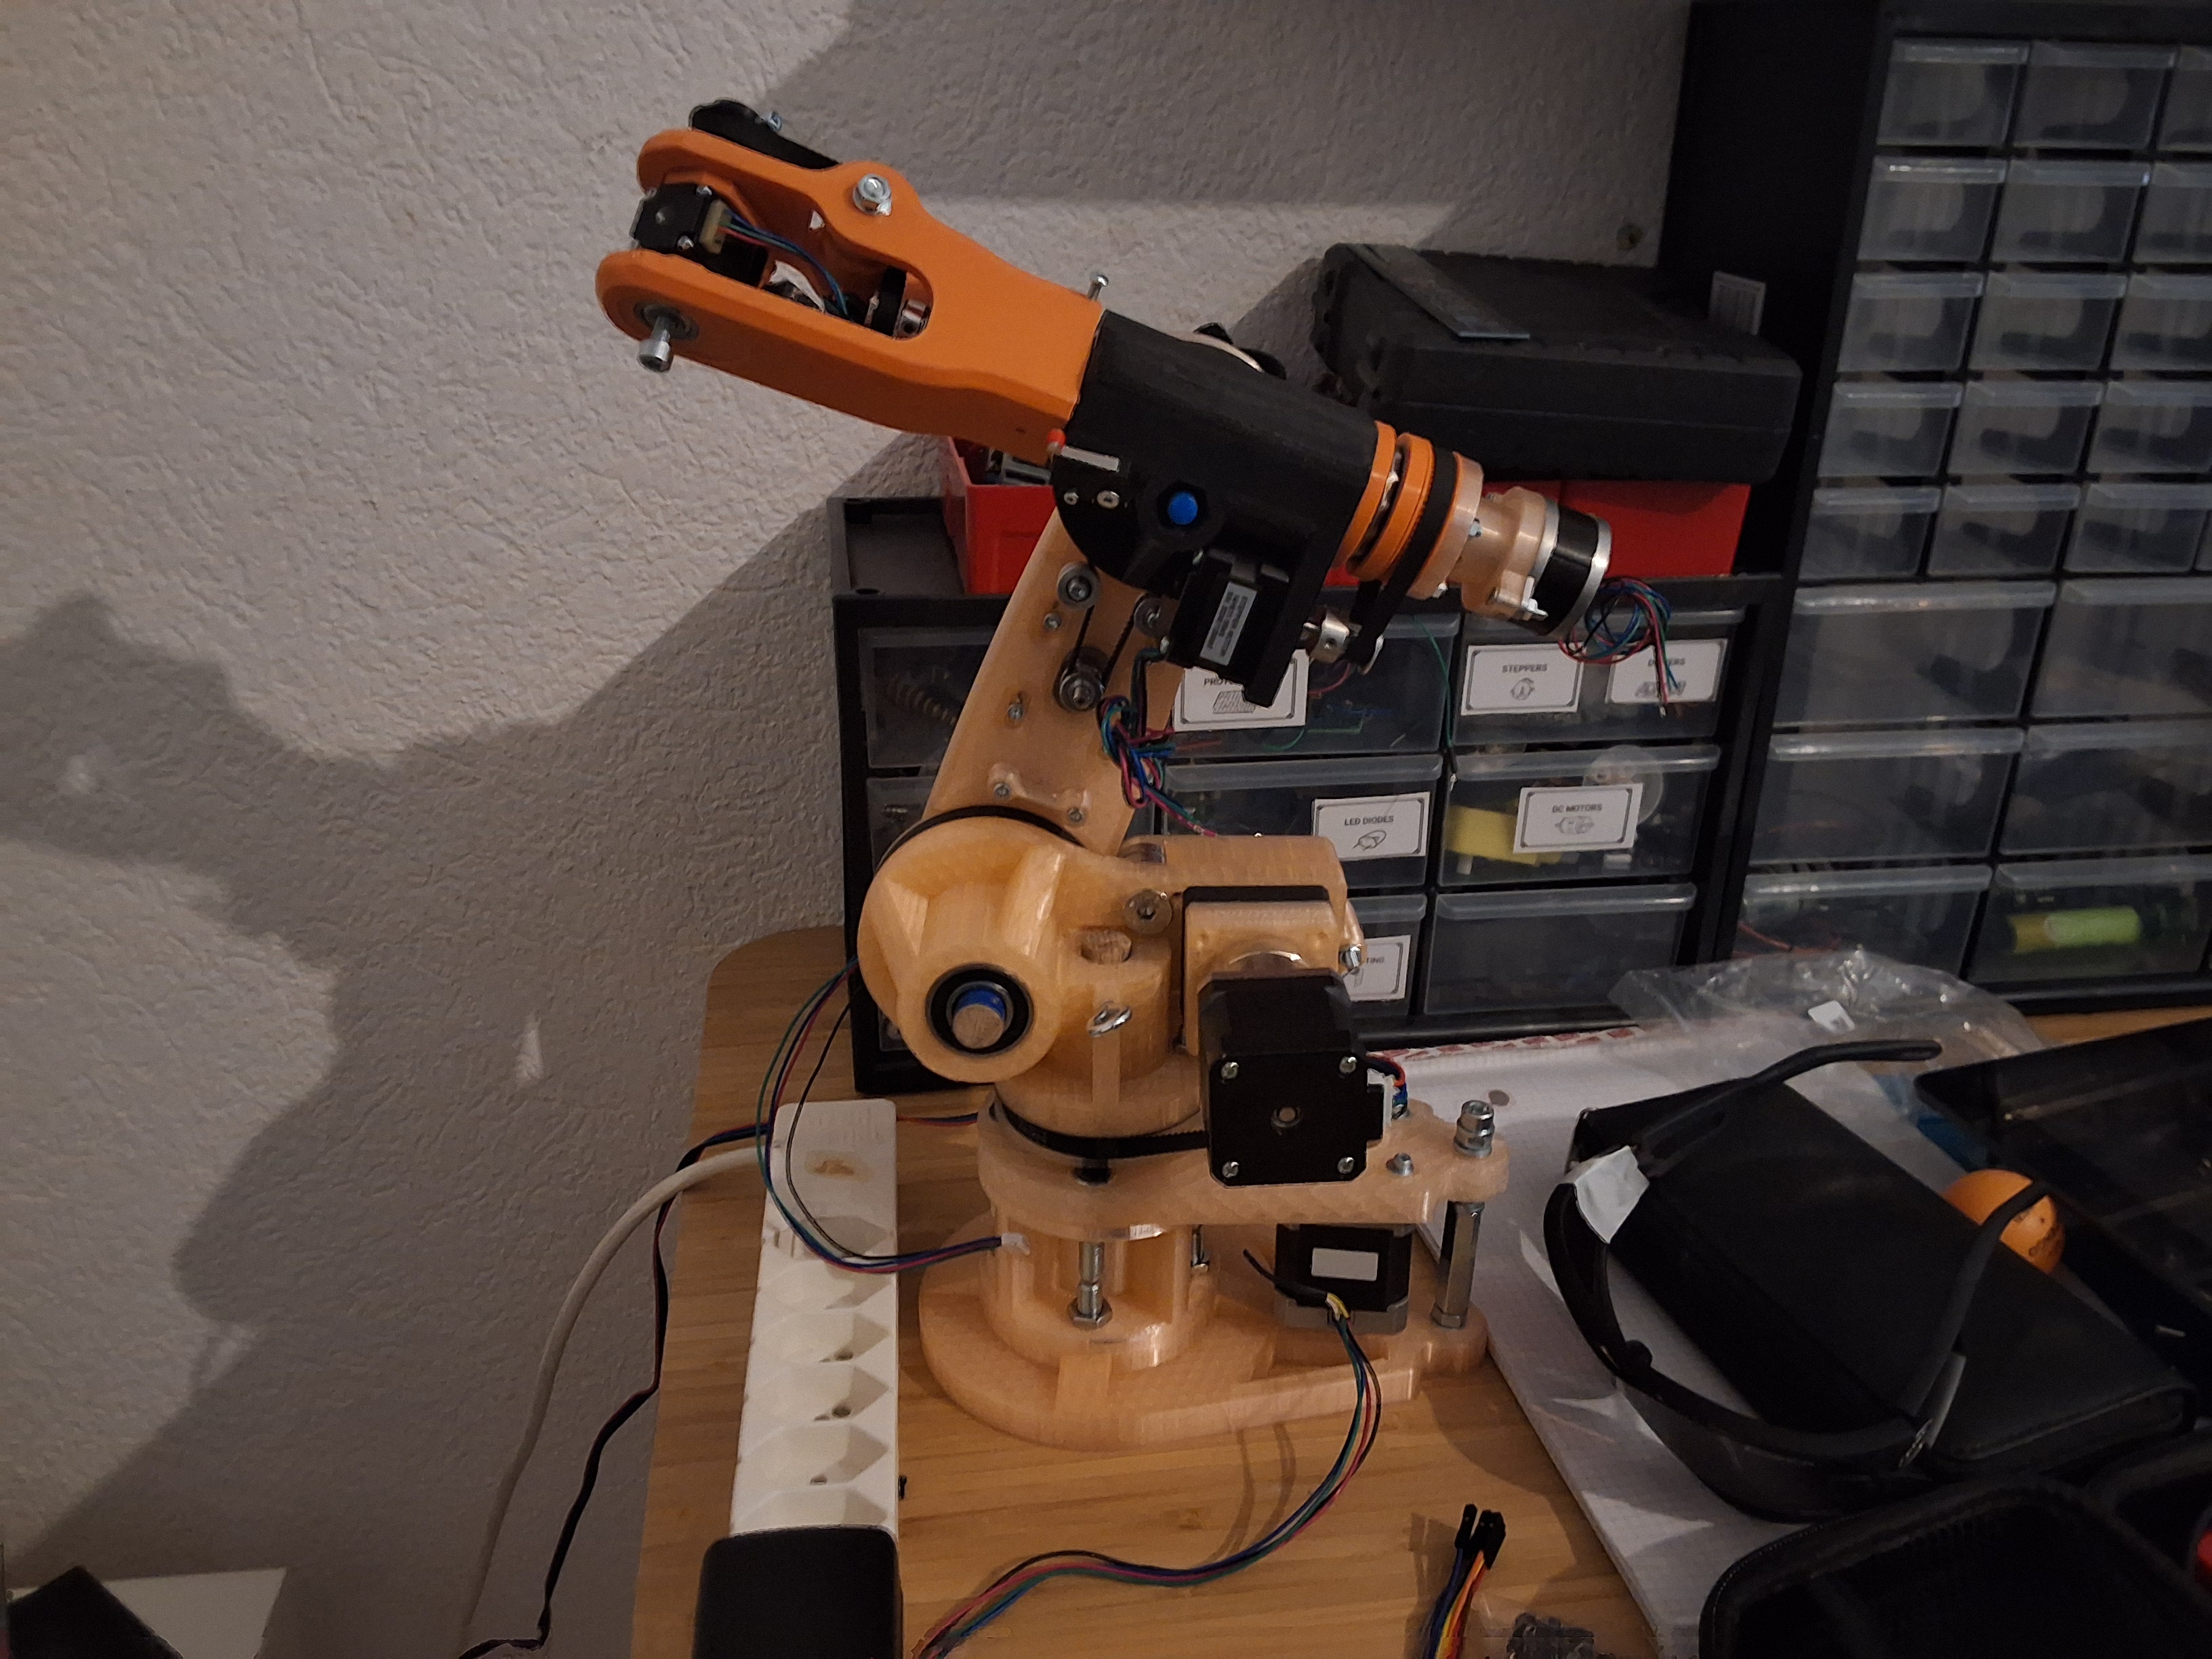
Kuka robot assembly